

How to Make Homemade Udon Noodles (Easy Authentic Recipe)
If you’ve ever enjoyed a comforting bowl of udon soup or stir-fried yaki udon at your favorite Japanese restaurant, you know the magic of chewy, thick udon noodles. What if I told you that you can make homemade udon noodles easily at home — with just three ingredients?This simple recipe will show you how to make authentic udon noodles from scratch, perfect for soups, stir-fries, or even creamy fusion dishes like my Creamy Mushroom Udon.
Equipment
- 1 scale
- Rolling Pin
- Knife
- Large Bowl
- two towels
- gallon storage bag
Ingredients
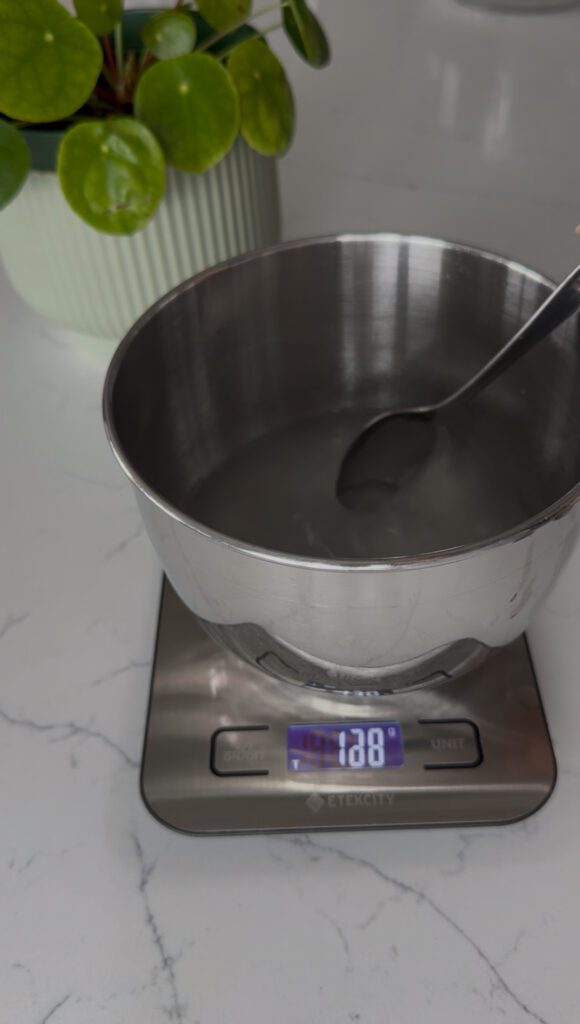
- 180 g Water
- 20 g Salt
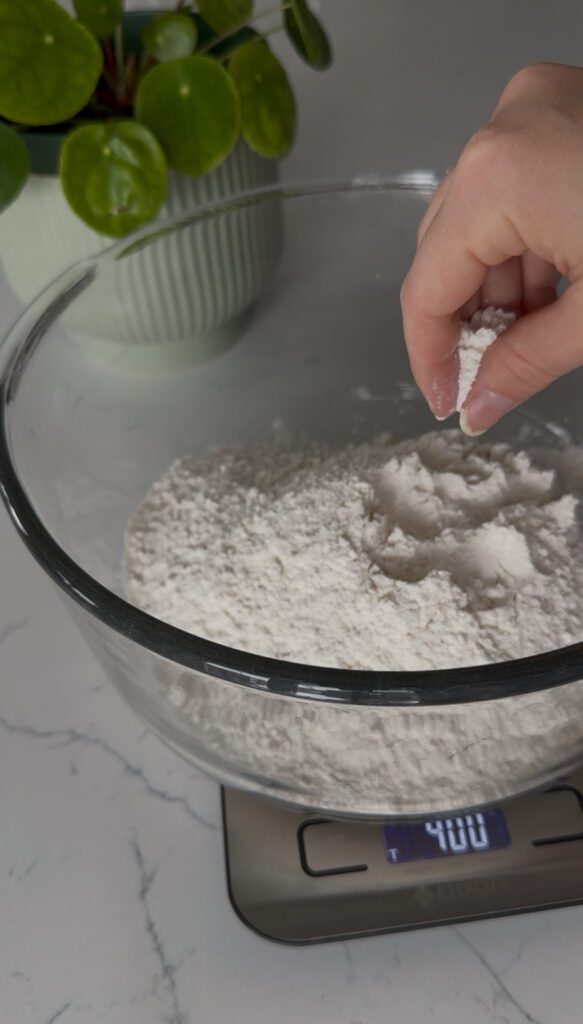
- 400 g Flour
Instructions
Prep the Dough
- In a small bowl, dissolve the salt in water. Set it aside for now.
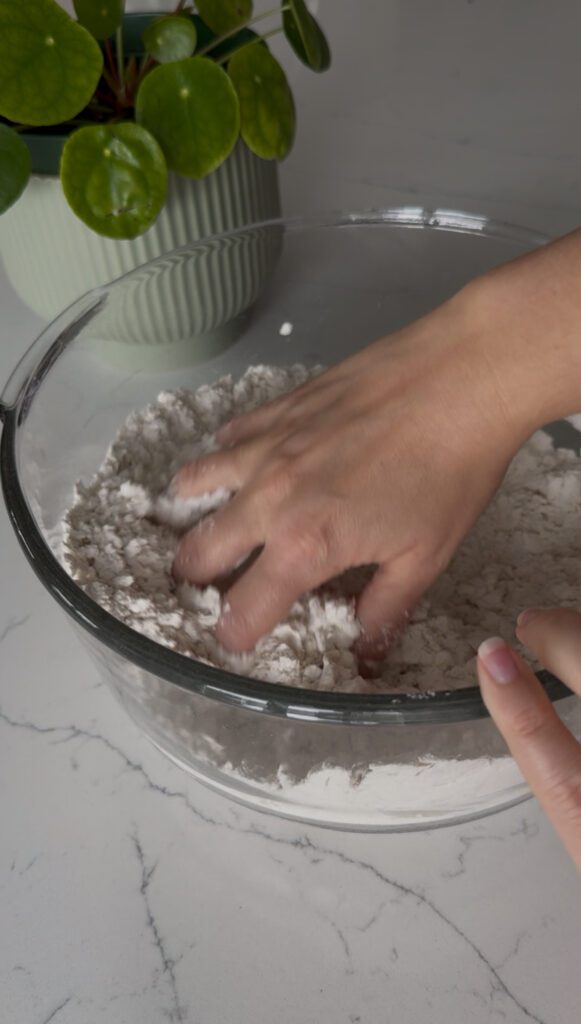
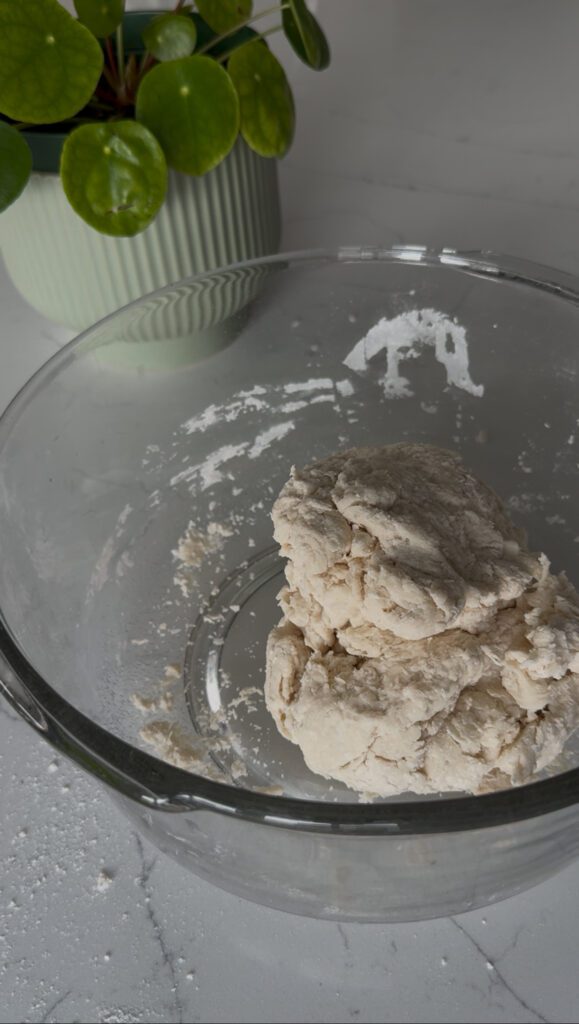
- In a large bowl, measure out 400g of flour. Pour in the salt mixture a little bit at a time using your fingers to mix the water in a little bit at a time.
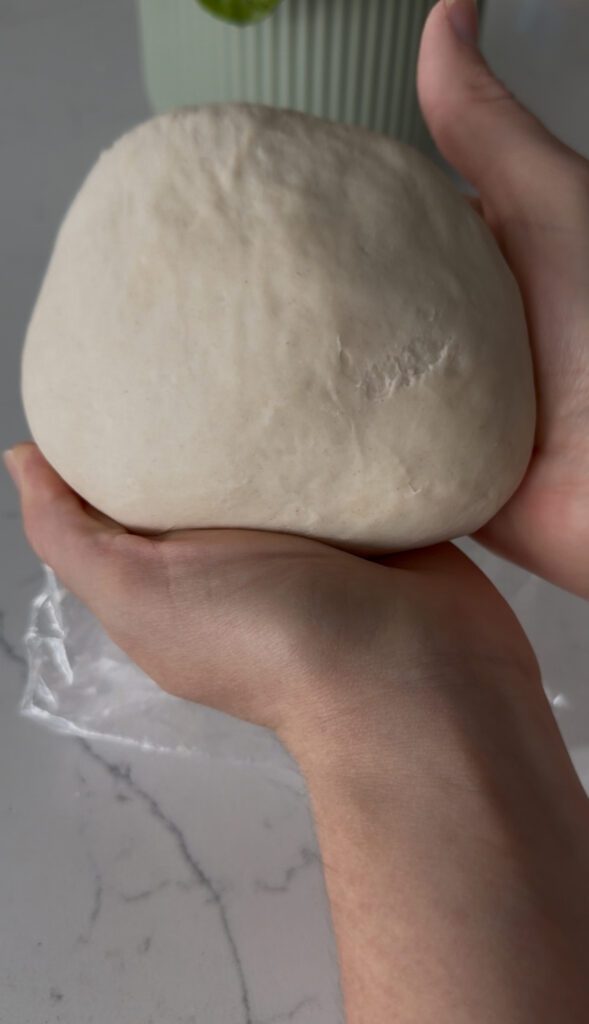
- Repeat this until the water mixture is gone. Use your fingers to knead the dough into a rough ball.
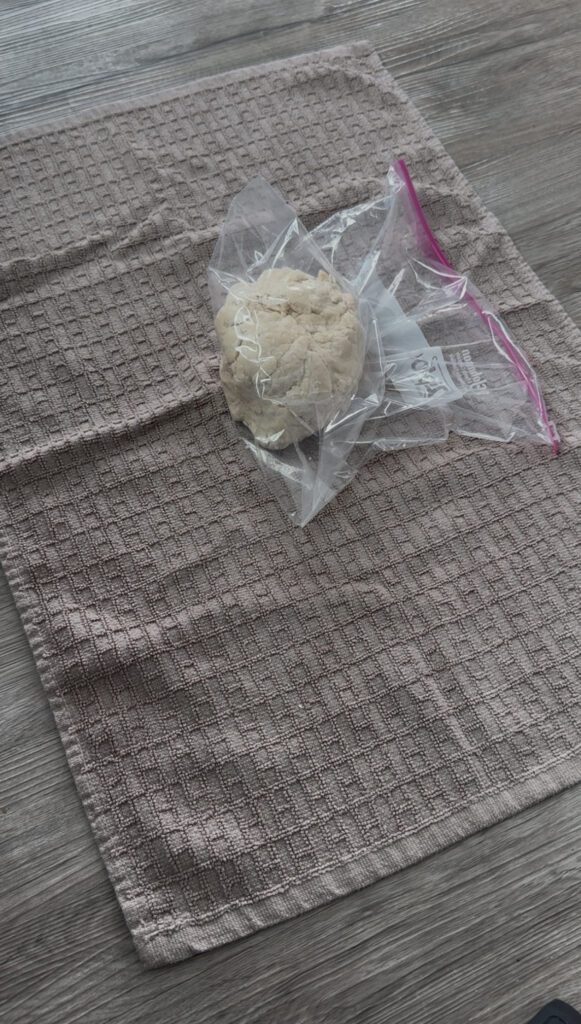
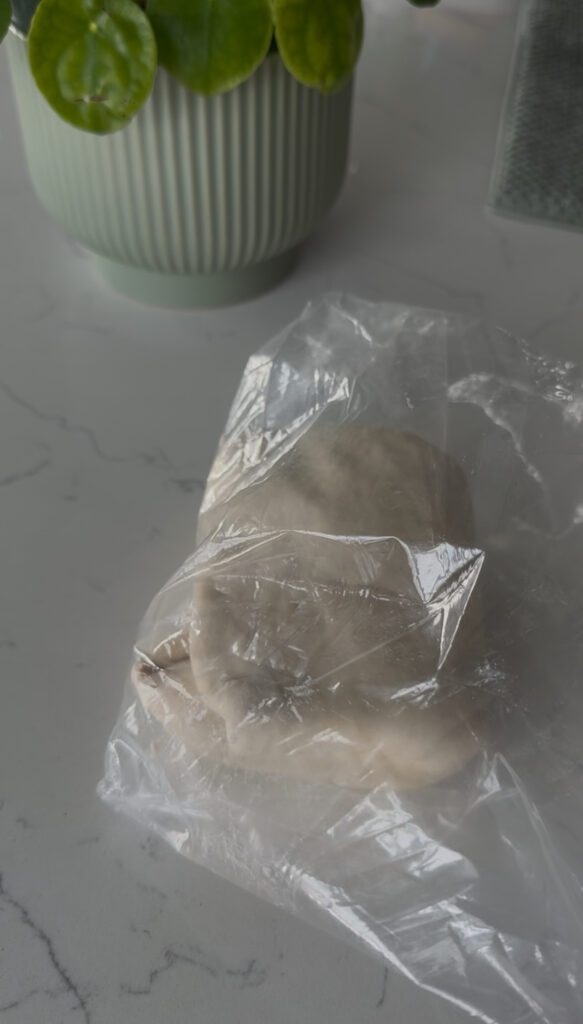
- Once you have a ball, place this ball into a gallon ziplock bag. Then let it rest for 30 minutes.
Kneading the dough
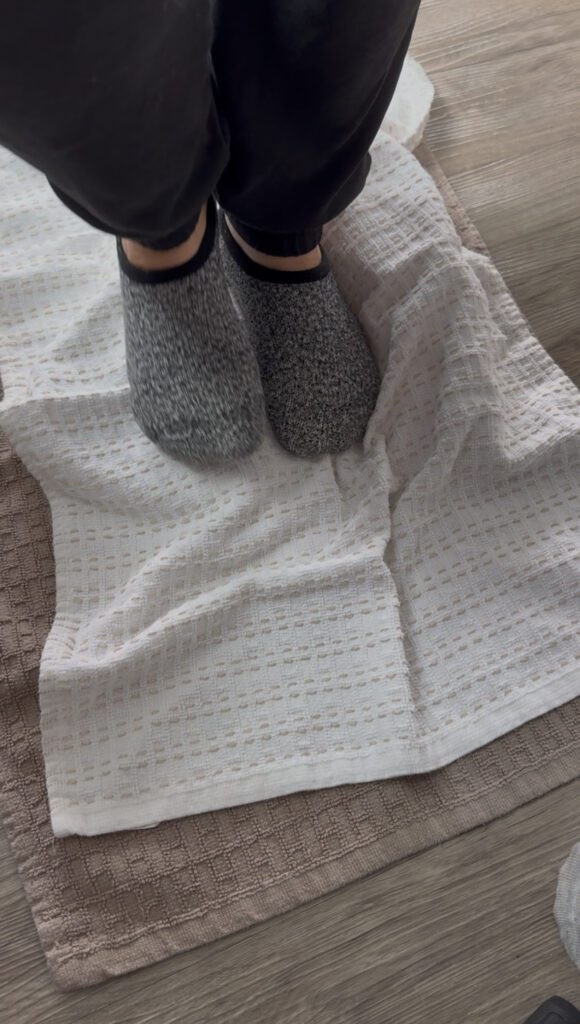
- After the dough has rested 30 minutes, you can use a traditional Japanese method to knead the dough. Place a towel on the floor, then place the bag of dough on top of the towel then cover it with another towel. You will make a towel dough sandwich and then you can start kneading your dough with your feet. Do this for 1 minute.
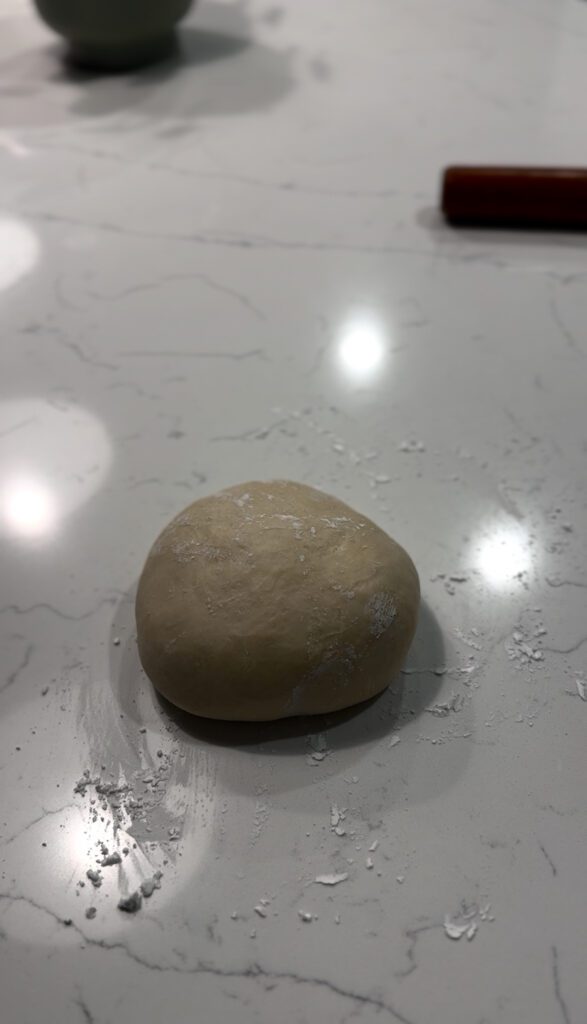
- After 1 minute take your dough bag and open it up. Fold your dough over about 4 times and close the bag back up. Then you can knead your dough for 10 minutes repeating this process about 3 times.
- This really helps the gluten build up and make your udon noodles have that nice thick chewy texture.
Rest the dough
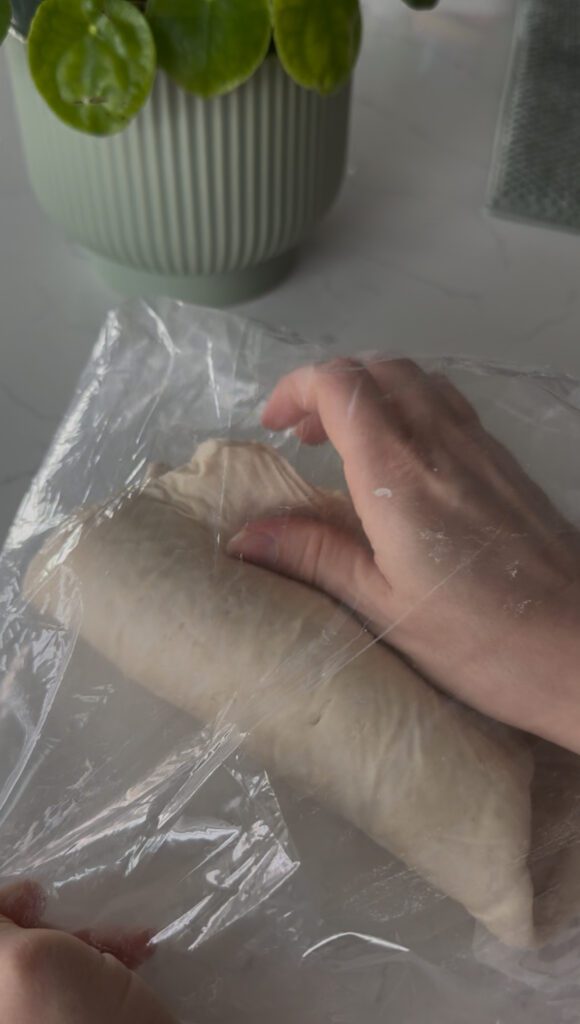
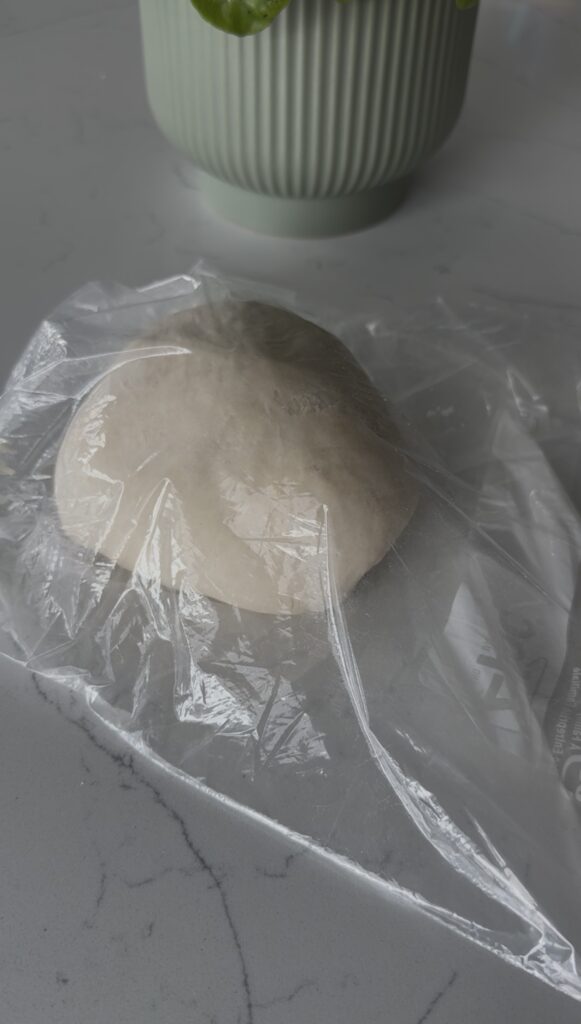
- Wrap the dough back in your plastic bag and let it rest at room temperature for at least 1 hour (up to 3 hours). This relaxes the gluten and makes rolling easier. I let my dough rest for more than 3 hours because I ran a couple of errands and did not get back in time. Overall I think 3 hours is best.
Roll Out the Dough
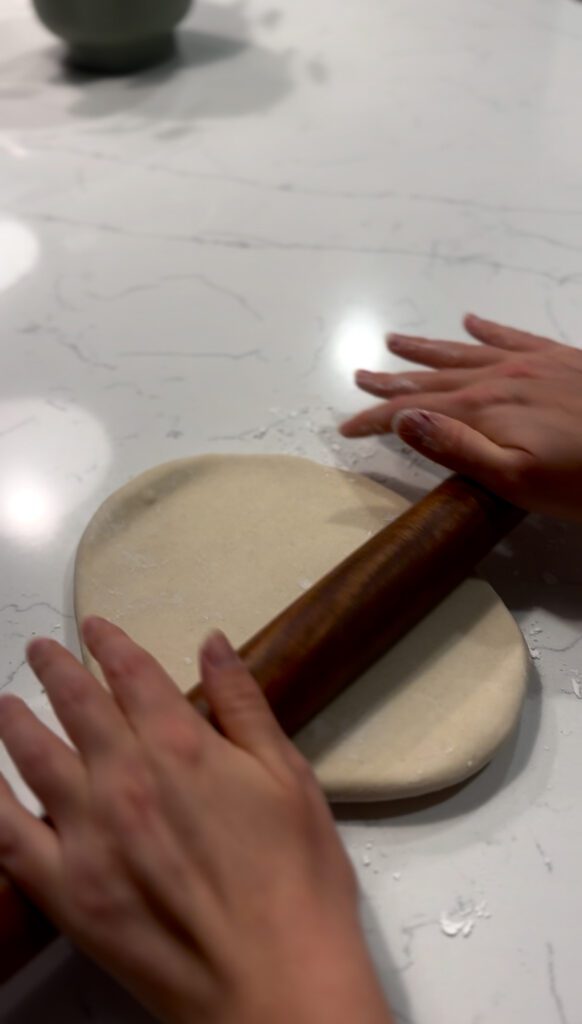
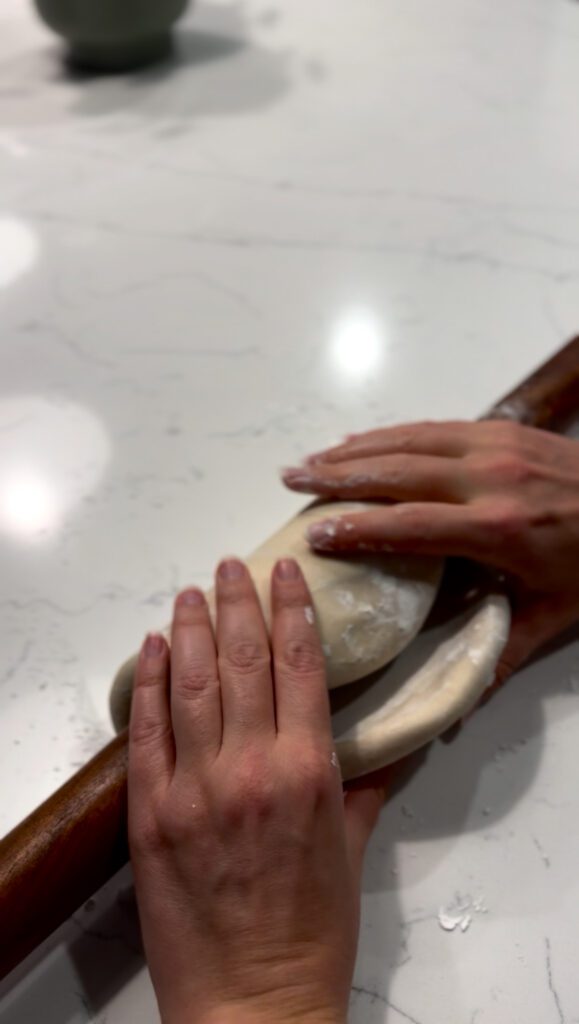
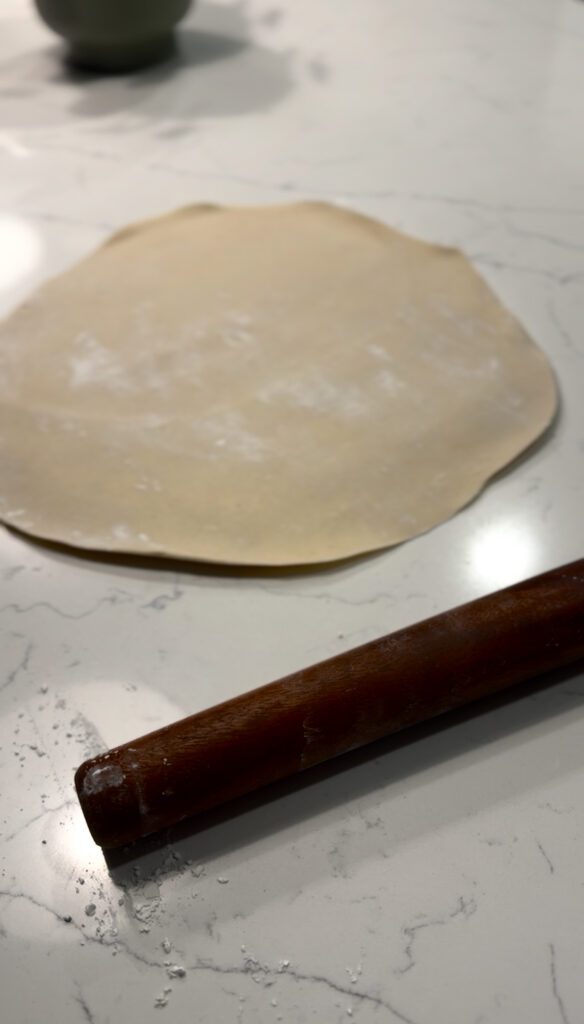
- After 3 hours it is time to roll out your dough. Dust your work surface with corn starch. Roll the dough into a disc. Take your dough and wrap it around the rolling pin. Then from there on only roll forward and drag it backwards. As your roll forward use your hands to gently smooth out the dough by starting in the middle and press outwards. If you follow my video it will give you a great example of this.
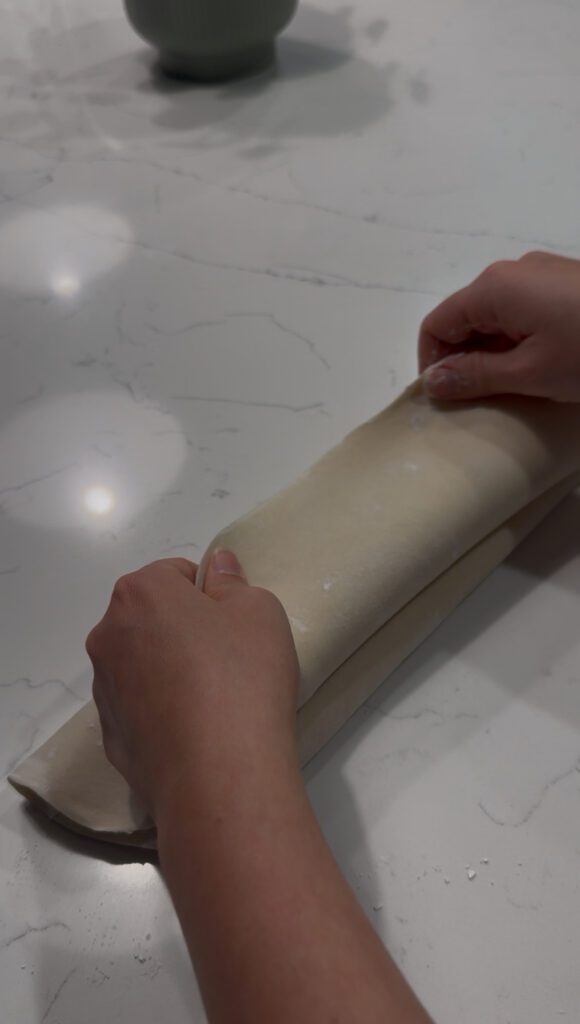
- Keep rolling until your have a large circle about 1/4 inch wide for traditional udon. Take this disc and fold it like an accordion.
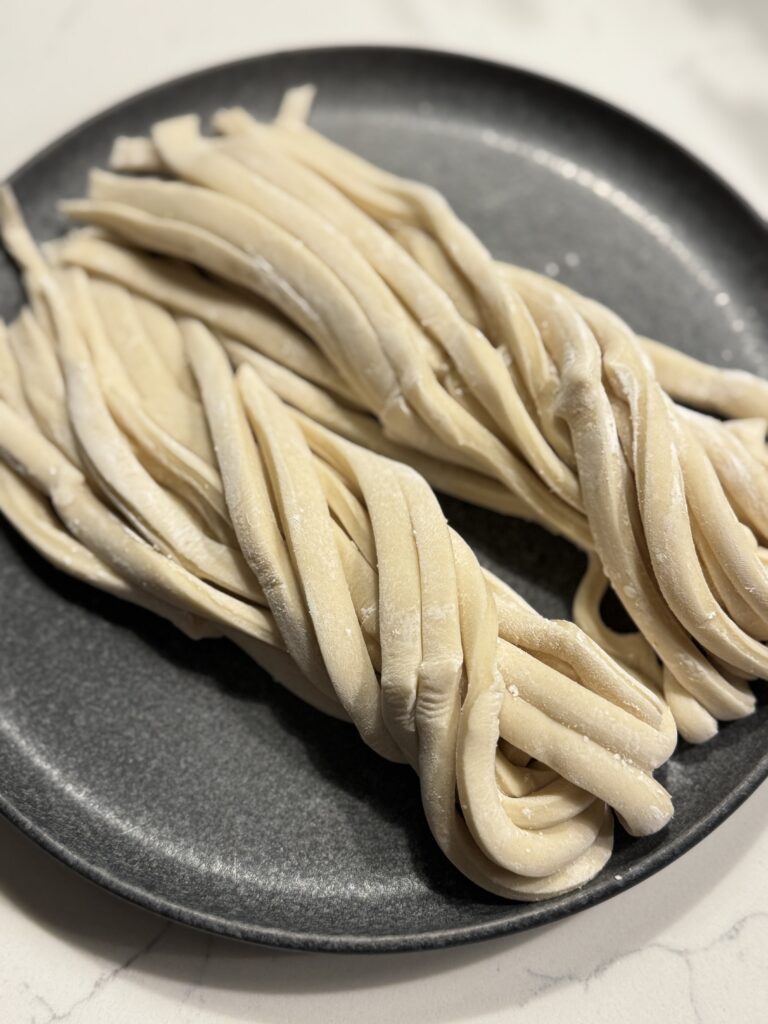
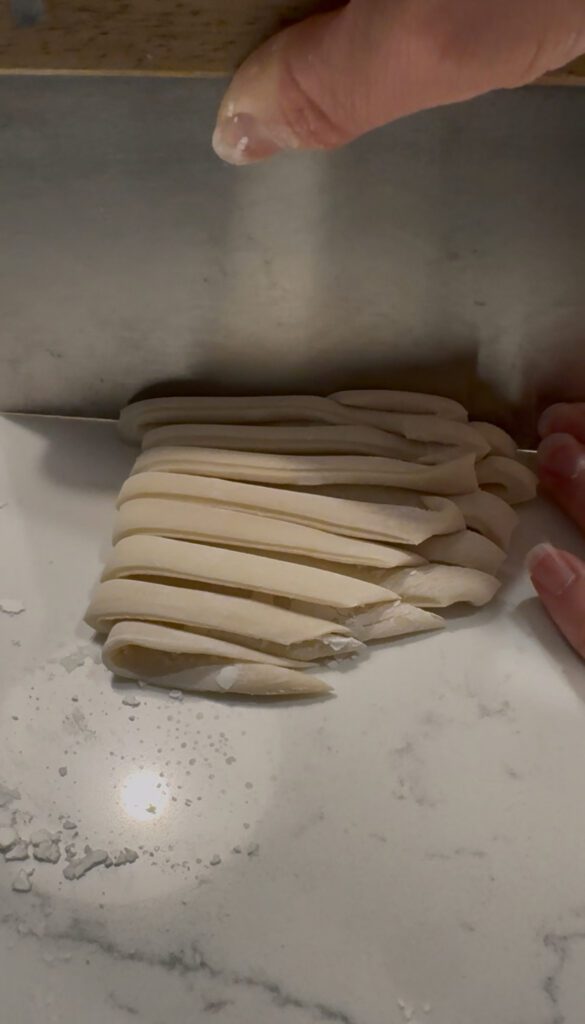
Cut the Noodles
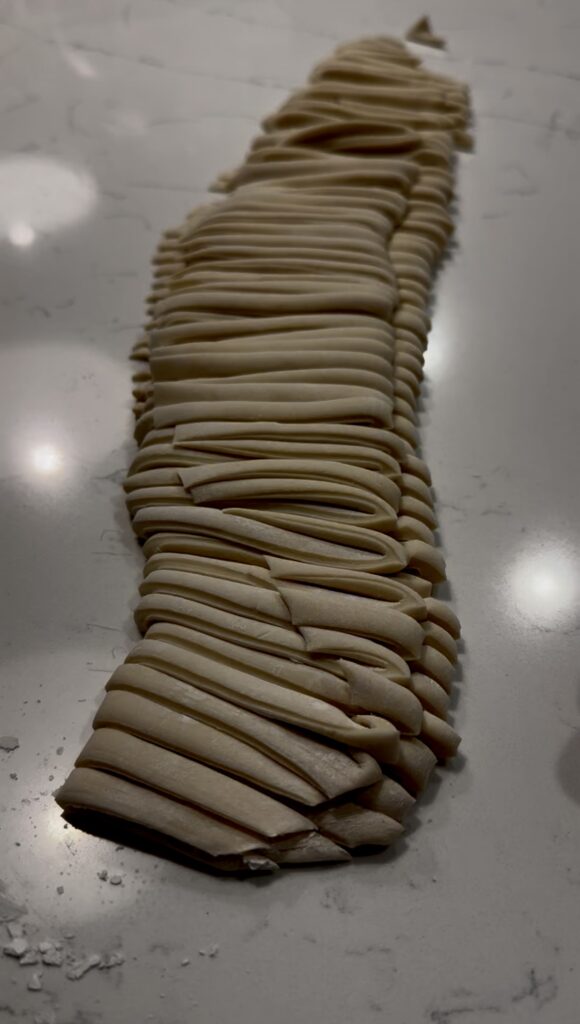
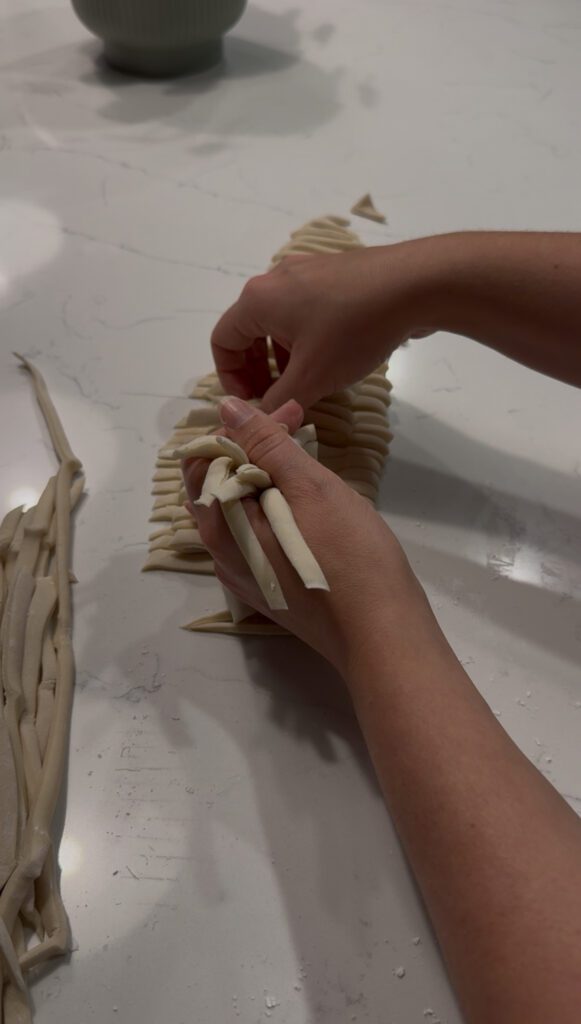
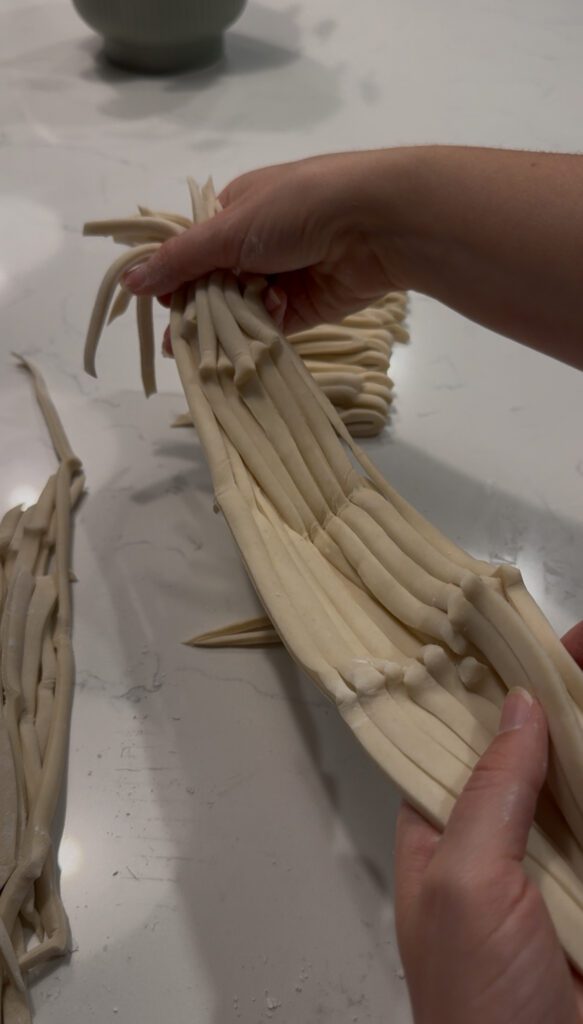
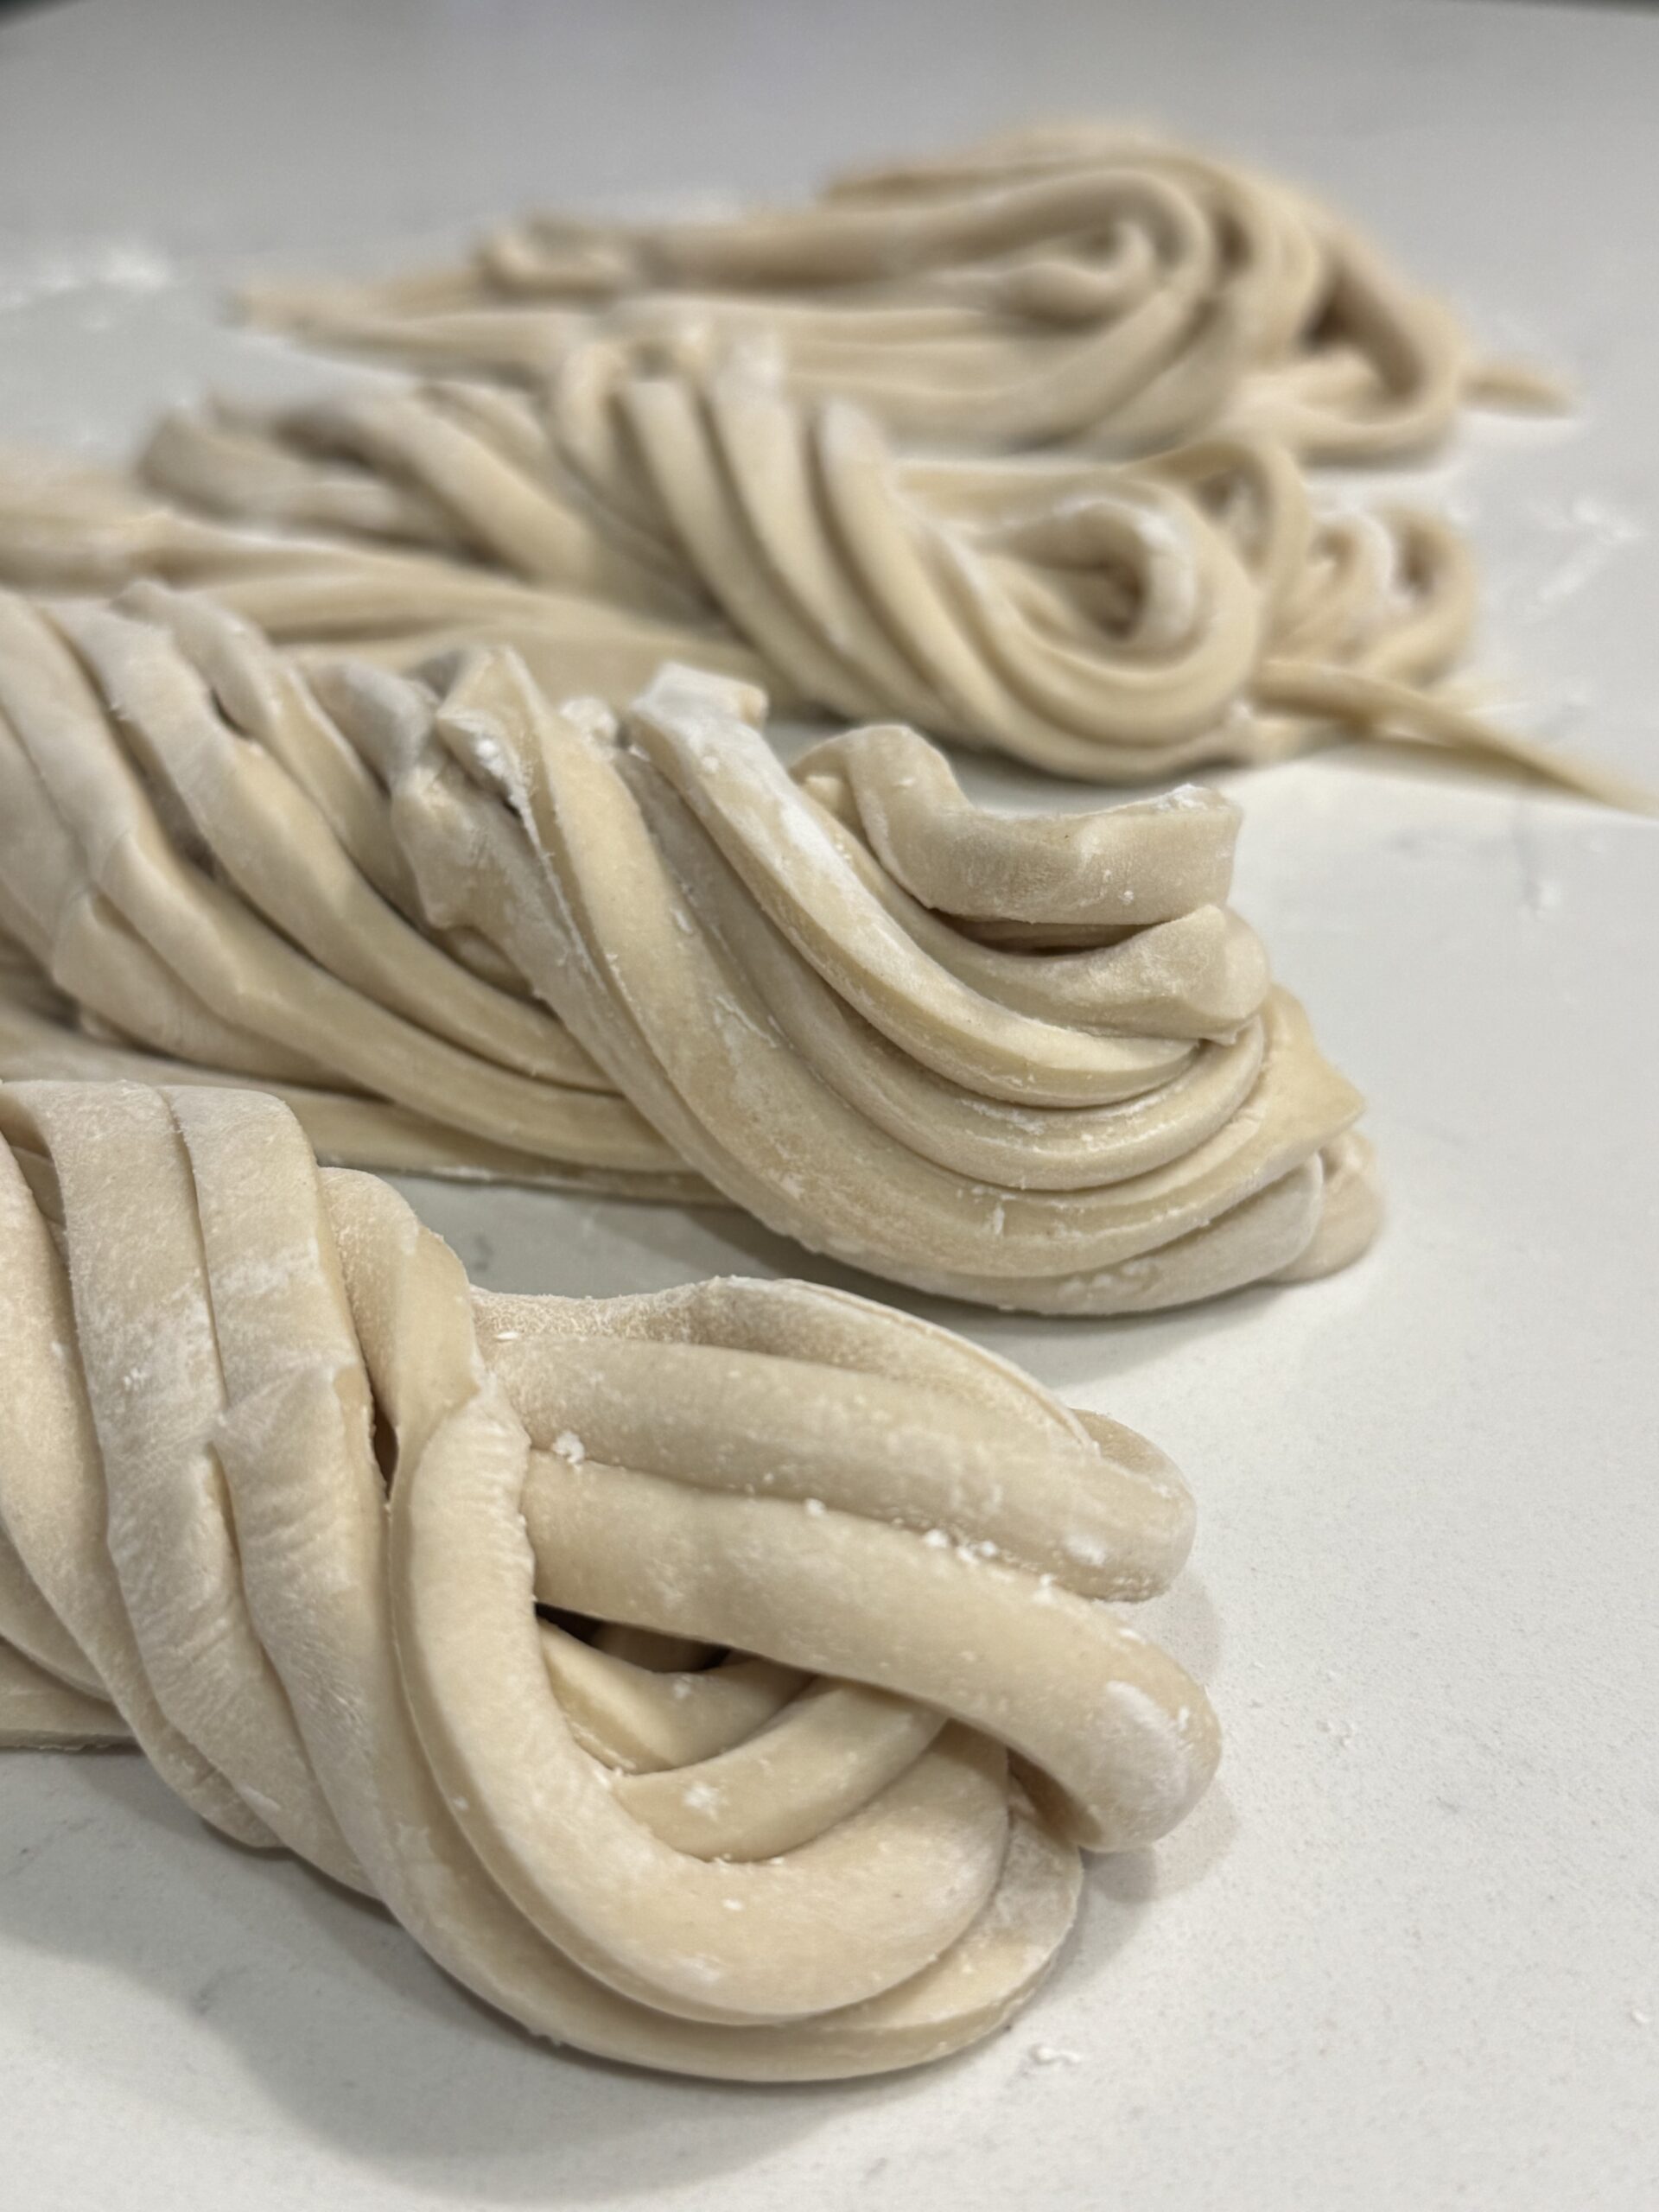
- Starting at the end of your accordion take either a knife or a dough scraper to cut lines of noodles. You can do this a little thin because the noodles do thicken when you boil them.
- Cut all the way through your accordion fold. Once you get to the end you can grab them ends and unravel your noodles. Which is very satisfying. You can coat these noodles in some corn starch and store them in the fridge for 3 days or freeze them for longer.
To boil or not to boil
- If you would like to eat them right away you can place them in boiling water for about 7 minutes to soften them up. Then you can use them in your favorite soups or yaki udon! If you would like a recipe example try my creamy mushroom recipe!