


A Sweet Solution: Simple Cherry Syrup from Leftover Cherries
Have you ever found yourself with an abundance of cherries and wondered how to put them to good use? Fear not!Today, we’re diving into the world of sweet and tangy delights with a delightful recipe for homemade cherry syrup. This versatile syrup is perfect for adding a burst of flavor to pancakes, waffles, ice cream, cocktails, or even drizzling over yogurt. So, let’s make the most of those leftover cherries and create a delicious concoction that you can use to add a pop of color and sweetness.
Equipment
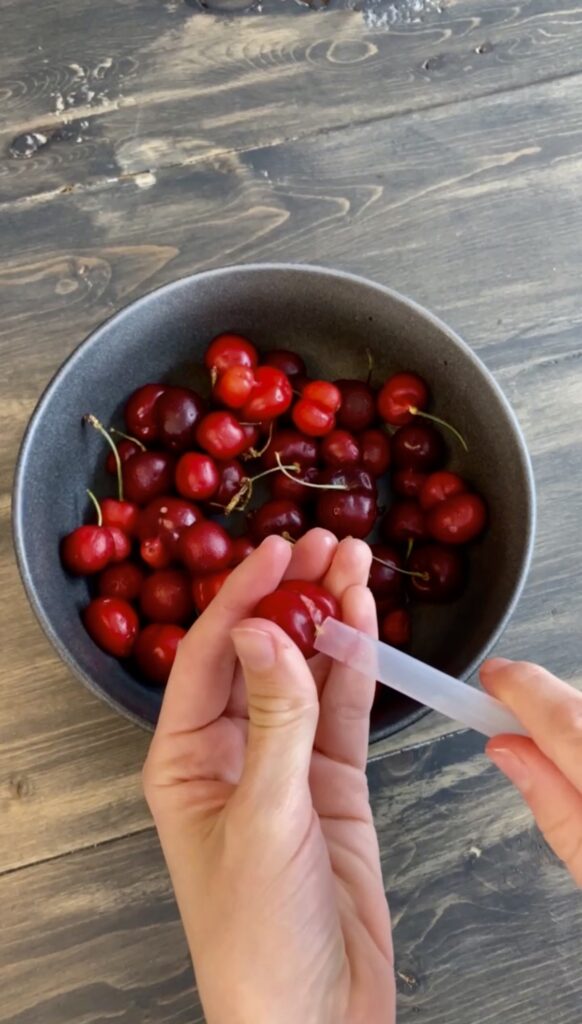
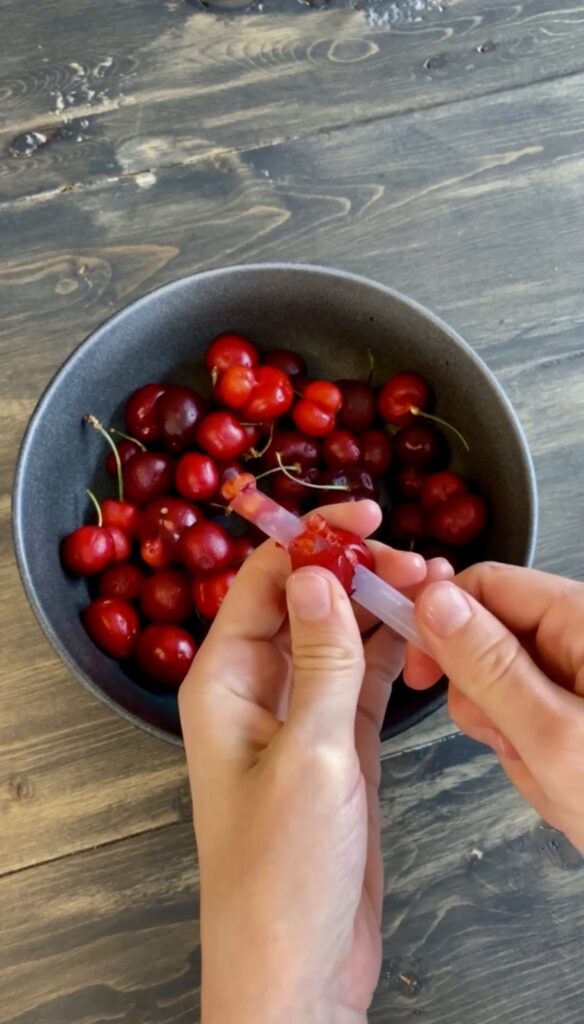
- Straw
- Bowl
- Fork
- Small pot
- Measuring Cup
- Jar
Ingredients
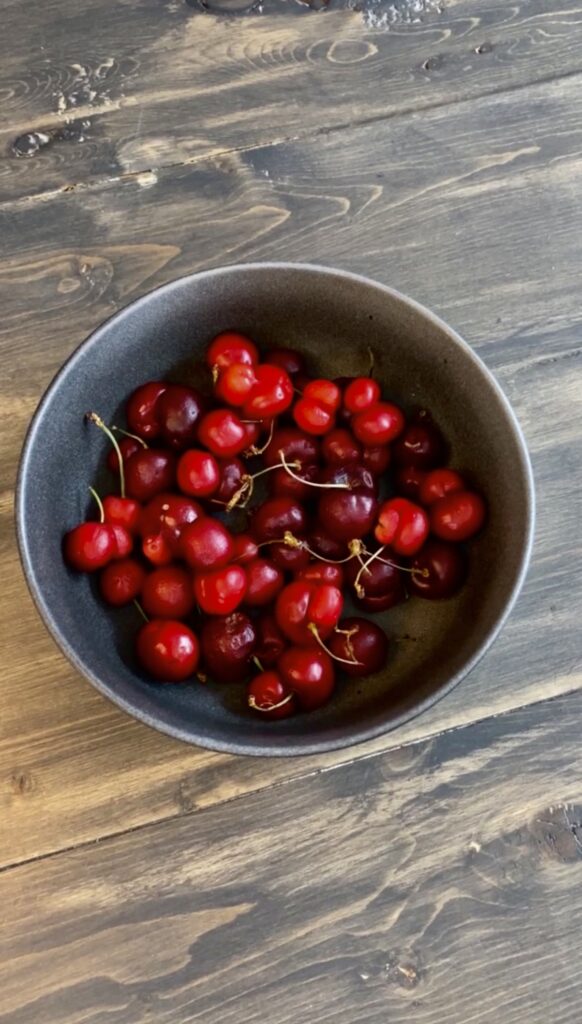
- 2 Cups Cherries
- 1 Cup Sugar
- 1 Cup Water
- ½ Lemon or Lime
Instructions
- Prepare the cherries: Start by pitting the cherries if they haven’t been pitted already. You can easily pit them using a cherry pitter or straw. Ensure all the cherries are free of pits before proceeding.
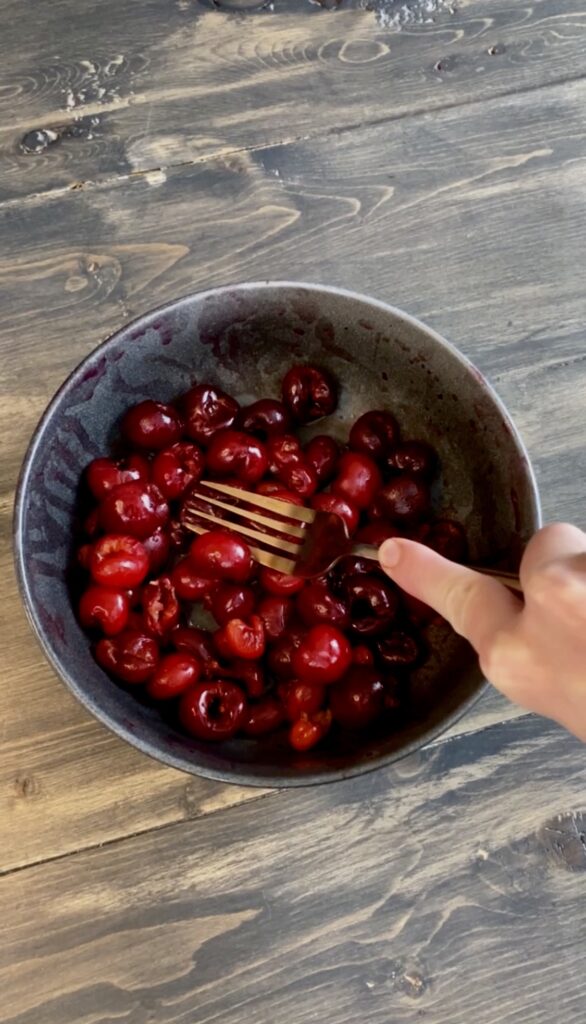
- Smash the cherries: Take some time to smash the cherries with a fork allowing some of the juices to come out. This will help release the cherry flavor when boiled and also soften them up.
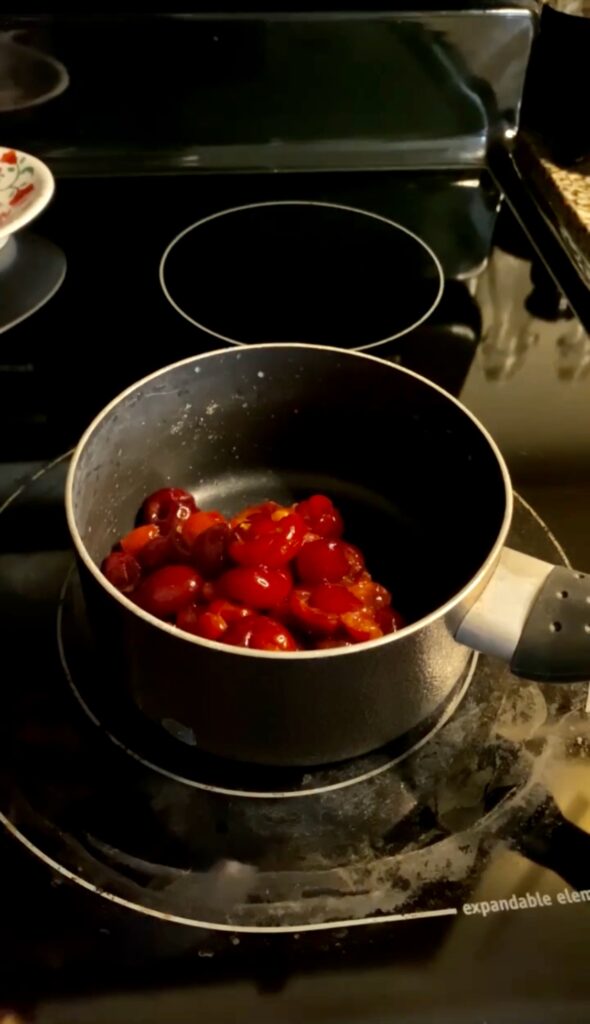
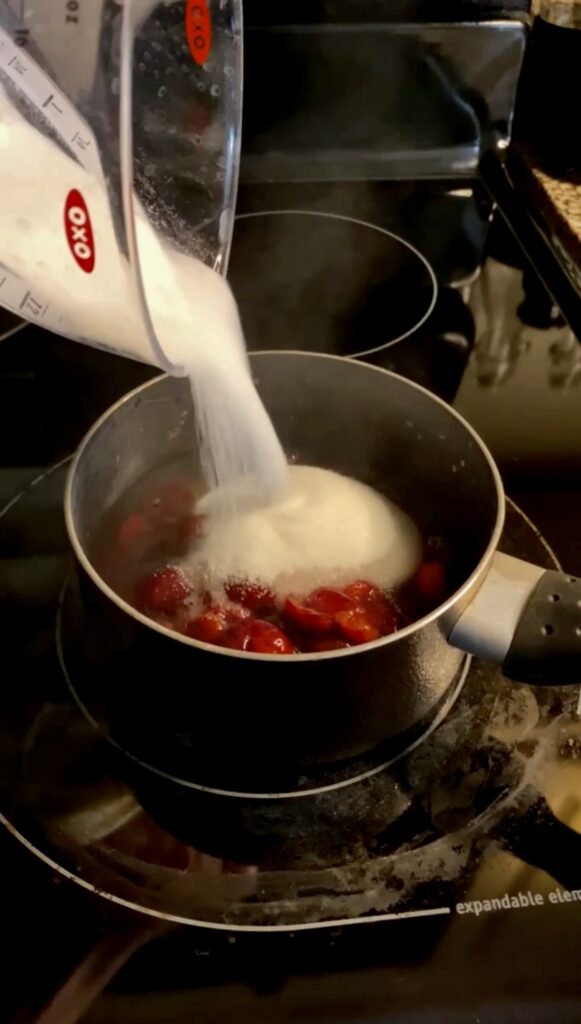
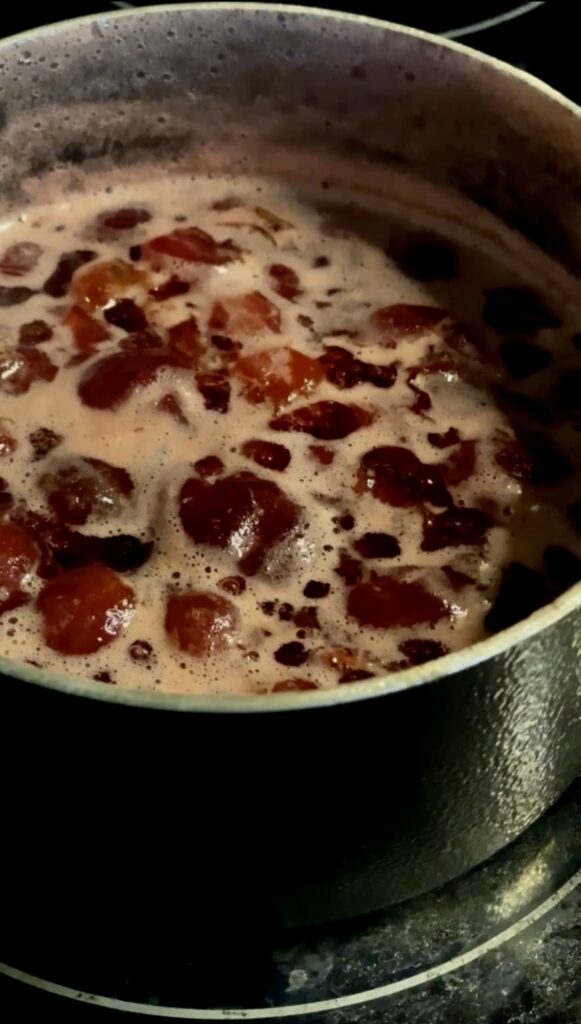
- Simmer the cherries: In a medium-sized saucepan, combine the pitted cherries, granulated sugar, and water. Place the saucepan over medium heat and bring the mixture to a gentle simmer. Stir occasionally to help dissolve the sugar and prevent the cherries from sticking to the bottom of the pan.
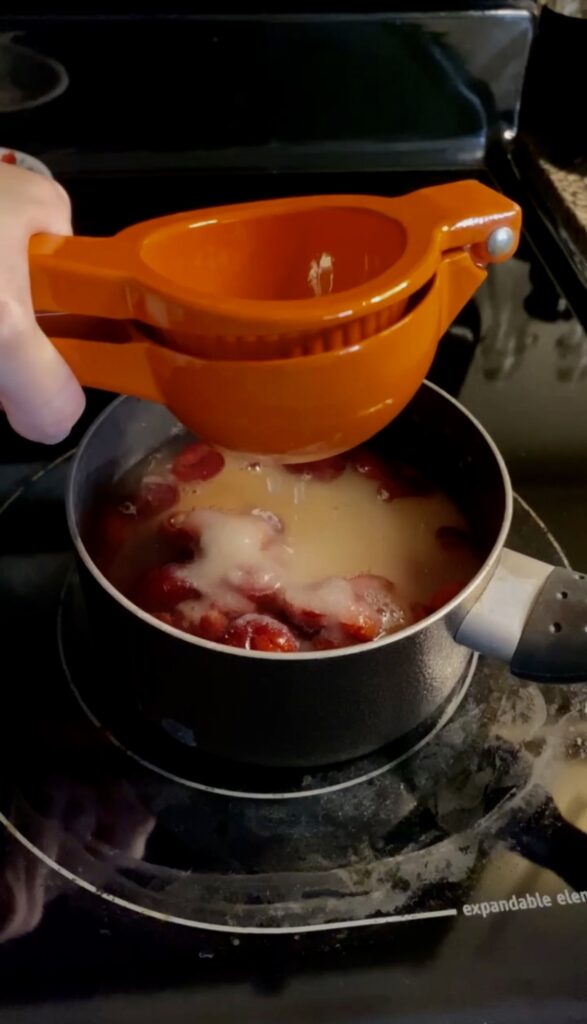
- Infuse the flavors: Allow the cherry mixture to simmer for approximately 15-20 minutes, or until the cherries have softened and released their juices. While the mixture simmers, the cherries will become tender, and the syrup will thicken slightly. If desired, add lime juice or lemon juice to enhance the brightness of the syrup.
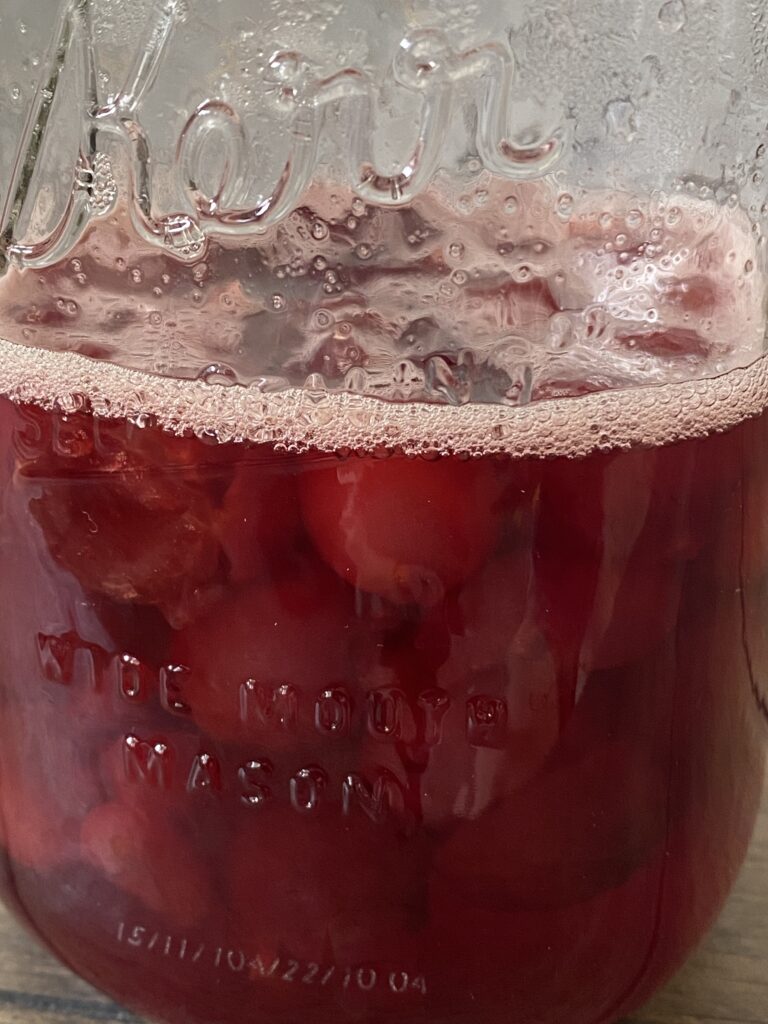
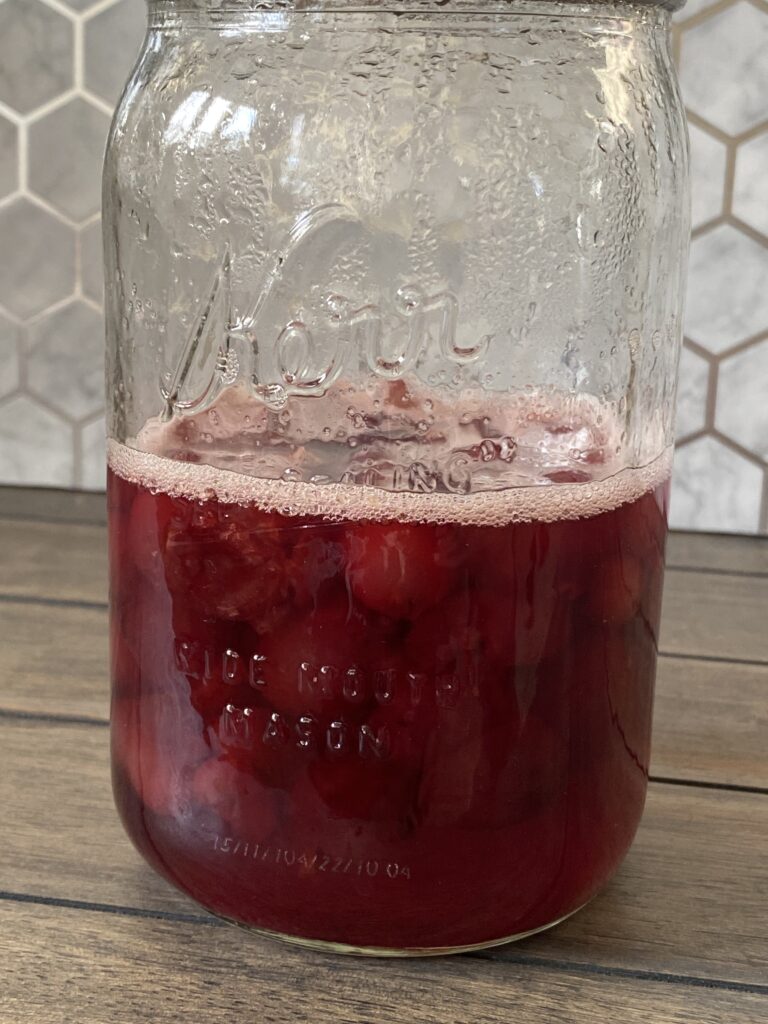
- (Optional) Strain the syrup: Carefully pour the cherry mixture through a fine-mesh sieve or cheesecloth-lined strainer into a clean container. Press down on the cherries with the back of a spoon to extract all the liquid.You do not have to strain the cherries. I like to keep the cherries to add as a topping.Allow the syrup to cool completely before transferring it to a jar or bottle.
- Storage and serving: Once cooled, transfer the cherry syrup to a tightly sealed container and store it in the refrigerator. The syrup can be kept for up to two weeks, allowing you to enjoy its delightful flavors whenever you please. Drizzle it over pancakes, waffles, or ice cream for a decadent treat, or mix it with sparkling water for a refreshing cherry soda. The possibilities are endless!