This post may contain affiliate links.
Fall is a magical season filled with cool breezes, vibrant leaves, and of course, pumpkins! As Halloween approaches, carving pumpkins becomes a cherished family activity. But what do you do with all those pumpkin seeds after carving? Don’t throw them away—those little seeds are a seasonal treasure! Roasting pumpkin seeds is not only a fun part of the pumpkin-carving experience but also a healthy and delicious snack that captures the flavors of fall.
In this blog post, we’ll guide you through the process of carving pumpkins for Halloween and share a simple, delicious pumpkin seed recipe that makes the most out of your fall festivities. Whether you’re a seasoned pumpkin-carver or a first-timer, you’ll learn how to turn this seasonal tradition into a tasty and fun experience.
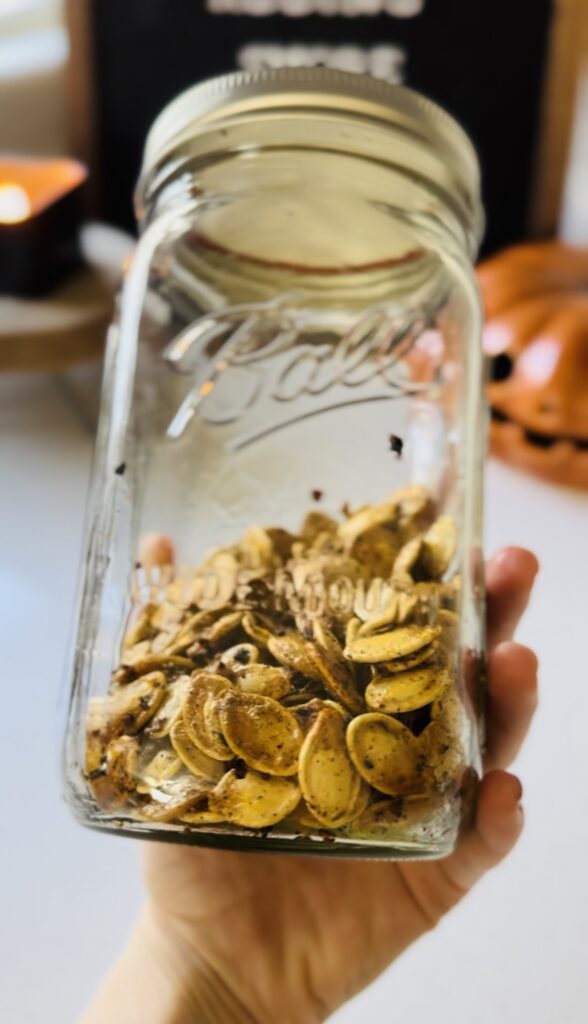
Pumpkin Seed Ingredients
- Pumpkin Seeds
- Olive Oil
- Seasoning of Choice (Examples below)
Pumpkin Seed Seasoning Options
- Classic Salted: Olive oil or butter with sea salt.
- Chili Lime: Chili powder, cumin, lime zest, and salt.
- Herb Butter: Melted butter with dried rosemary, thyme, and garlic powder.
- Cajun: Cajun seasoning mix, olive oil, and a dash of salt.
- Barbecue: Barbecue seasoning or a blend of smoked paprika, brown sugar, and onion powder.
- Pumpkin Spice: Pumpkin pie spice (cinnamon, nutmeg, ginger, allspice) with a sprinkle of sugar.
- Cinnamon Sugar: Sugar, cinnamon, and a touch of melted butter or oil.
- Chai Spice: A mix of ground cinnamon, cardamom, ginger, and cloves for a chai-inspired flavor.
- Gingerbread Spice: Ginger, cinnamon, nutmeg, cloves, and brown sugar for a festive flavor.
- Apple Pie: A blend of cinnamon, nutmeg, and allspice with an apple cider glaze.
Carving Pumpkins for Halloween:
Carving pumpkins for Halloween is a time-honored tradition that dates back to ancient Celtic celebrations. In modern times, this activity has become a staple of fall family fun. Kids and adults enjoy designing spooky or creative faces on pumpkins and proudly displaying their glowing creations on the front porch. But before you start carving, choosing the right pumpkin and having the right tools is important.
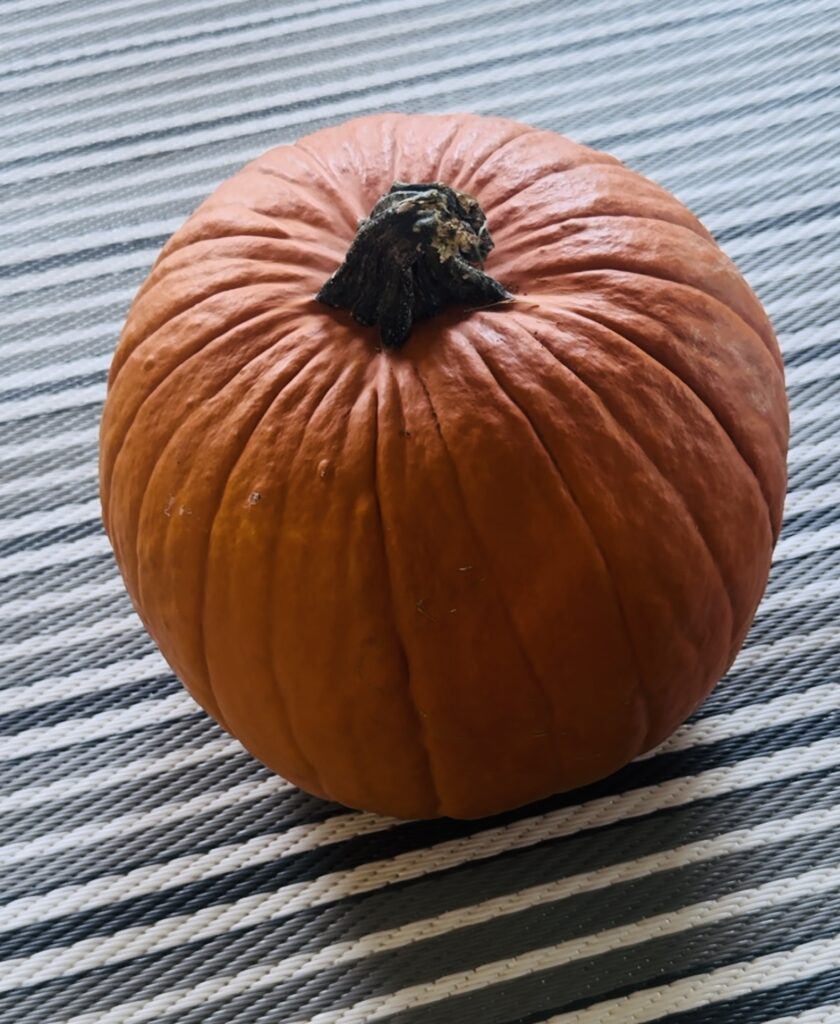
1. Choosing the Perfect Pumpkin
The first step in carving the perfect Halloween pumpkin is picking the right one. Visit your local pumpkin patch or grocery store and look for pumpkins that are:
- Sturdy and fresh: The pumpkin should be firm to the touch with no soft spots or bruises.
- Evenly shaped: While some love the quirky look of oddly shaped pumpkins, a round or slightly oval pumpkin tends to be the easiest to carve.
- Right size for your design: If you have an intricate design in mind, pick a larger pumpkin. Simpler designs can be done on smaller pumpkins.
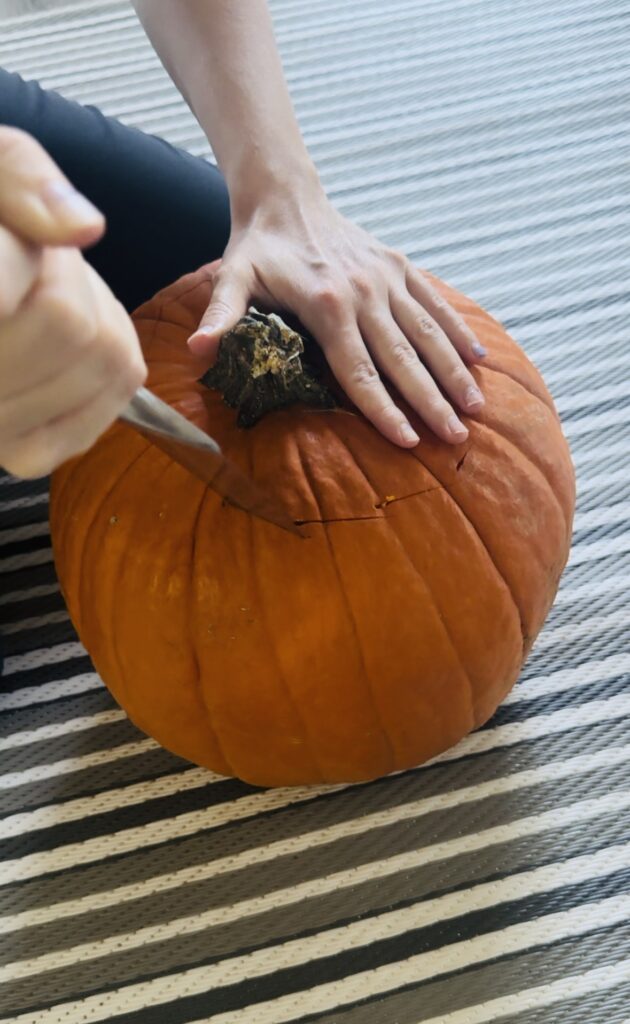
2. Pumpkin Carving Tools
Having the right tools makes carving pumpkins easier and more enjoyable. Here’s what you’ll need:
- Serrated knife: For cutting the lid off and carving out larger sections.
- Pumpkin scoop or large spoon: To scoop out the pulp and seeds.
- Small carving saws: These are safer and more effective for detailed designs.
- Stencil or design template: If you’re aiming for precision, a stencil or template can help guide your design.
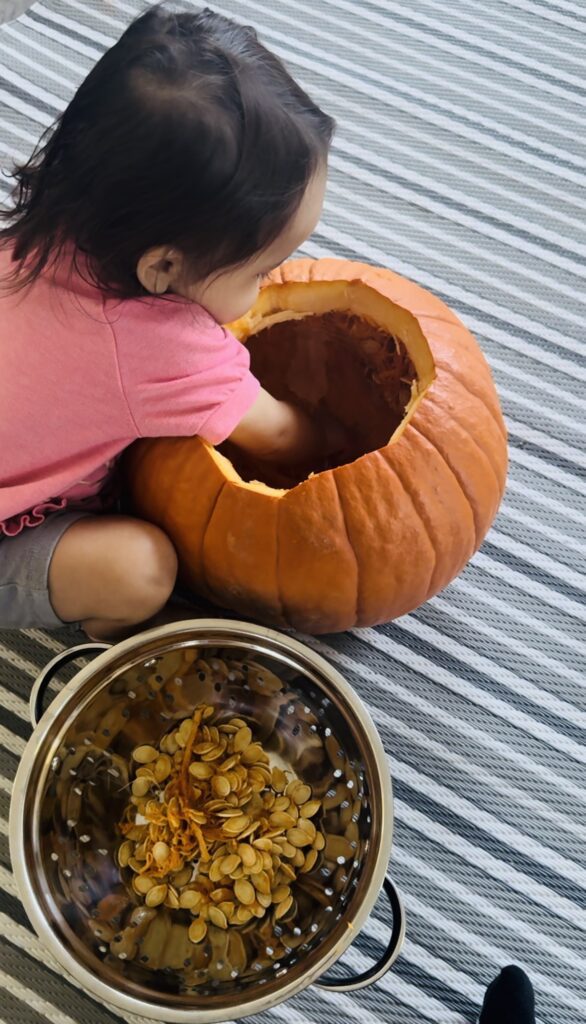
3. Carving Steps
- Cut the top off: Using your serrated knife, carefully cut a circular or zigzag-shaped lid around the pumpkin’s stem. Make sure the opening is large enough for your hand to fit inside.
- Scoop out the insides: This is where the real fun begins! Remove all the pulp and seeds. Set the pumpkin seeds aside—we’ll use them for our delicious recipe!
- Design and carve: Draw your design on the pumpkin with a marker or use a stencil. Once your design is in place, start carving. Go slow, especially around delicate areas, to avoid breaking off pieces of your pumpkin.
- Light it up: After carving, place a candle or LED light inside, and watch your spooky (or silly) creation come to life!
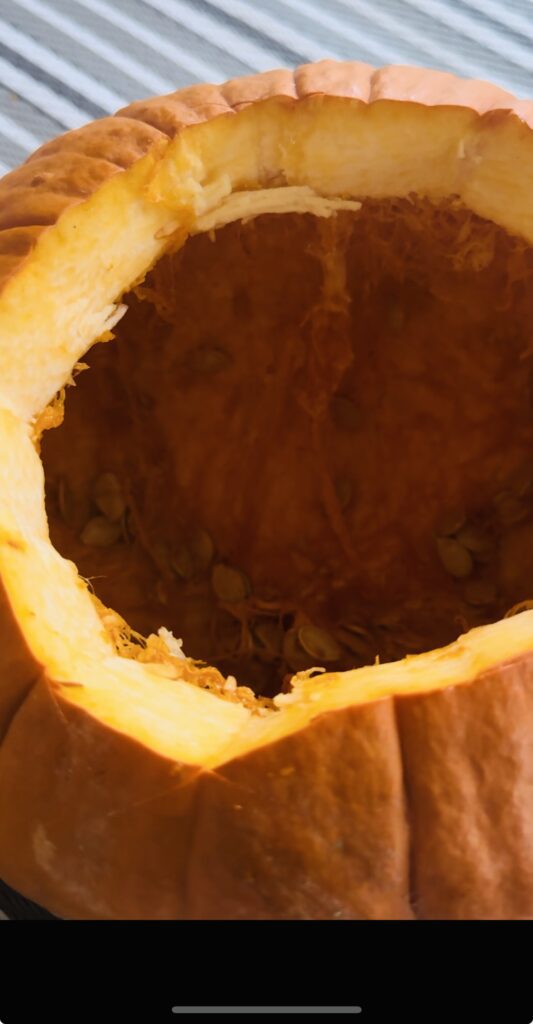
Now that your pumpkin is carved and ready to shine on Halloween night, let’s turn our attention to the pumpkin seeds. These small, often-overlooked parts of the pumpkin are a seasonal favorite when roasted. Plus, they’re a healthy snack packed with nutrients like magnesium, zinc, and healthy fats.
Easy Pumpkin Seed Recipe
Roasting pumpkin seeds is the perfect way to reduce waste and enjoy a nutritious snack. The recipe is simple, and you can easily customize it with your favorite flavors. Here’s how you can turn those leftover seeds into a delicious fall treat.
Step-by-Step Instructions:
Preheat your oven: Set your oven to 350°F Roasting the seeds at a low temperature ensures they cook evenly and become crispy without burning.
Separate the seeds from the pulp: After scooping out the pumpkin’s insides, place the seeds and pulp in a large bowl. Gently separate the seeds from the stringy pulp. It might take a little time, but it’s worth it!
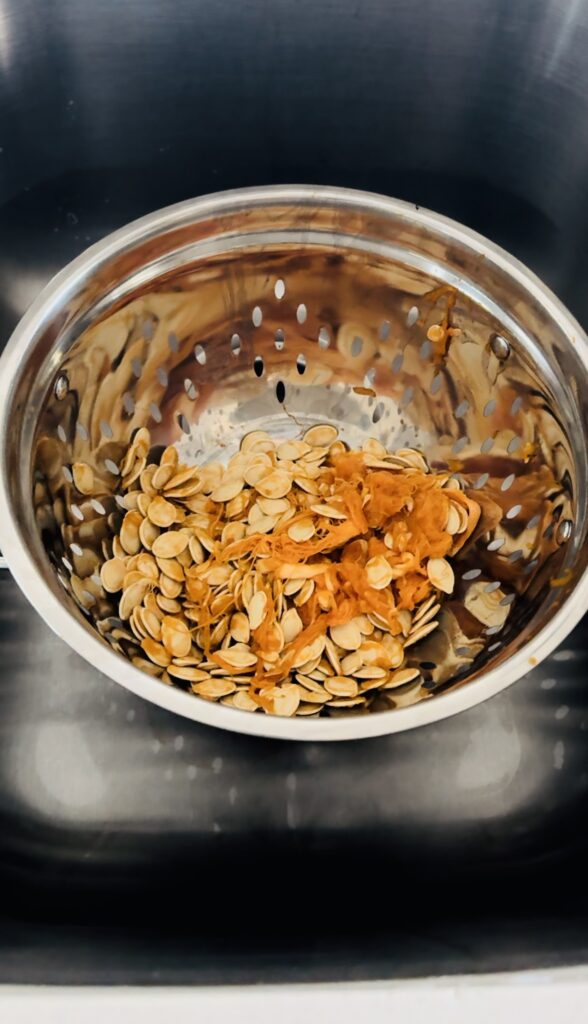
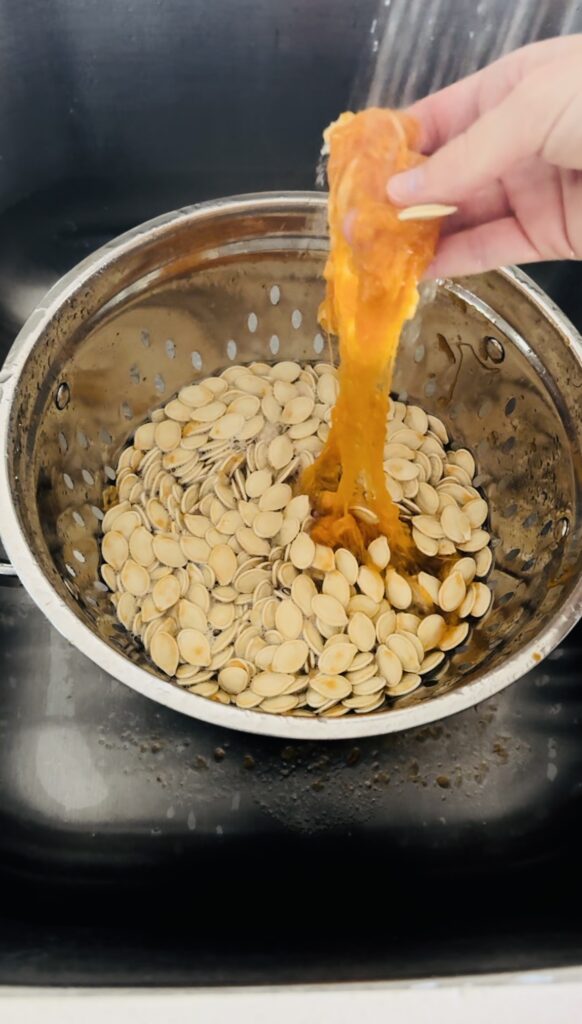
3. Rinse the seeds: Once you’ve separated the seeds, place them in a colander and rinse under cold water. This helps remove any remaining pumpkin bits and ensures your seeds roast evenly.
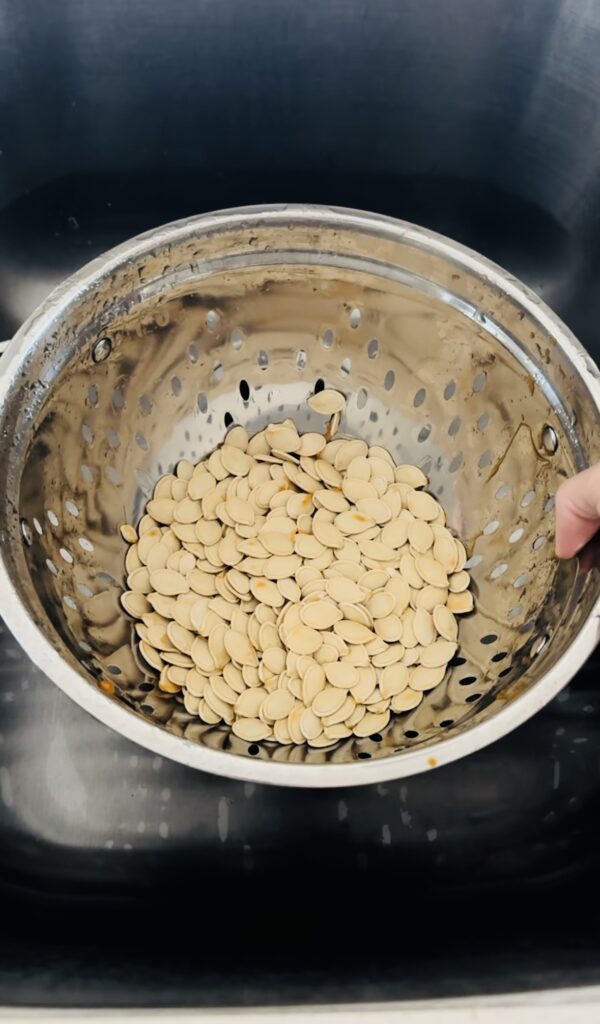
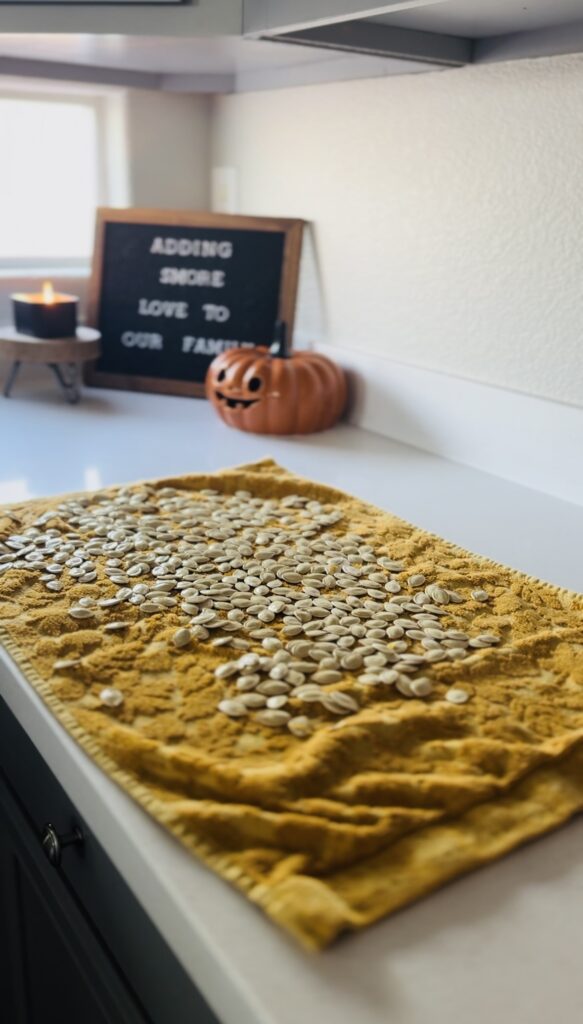
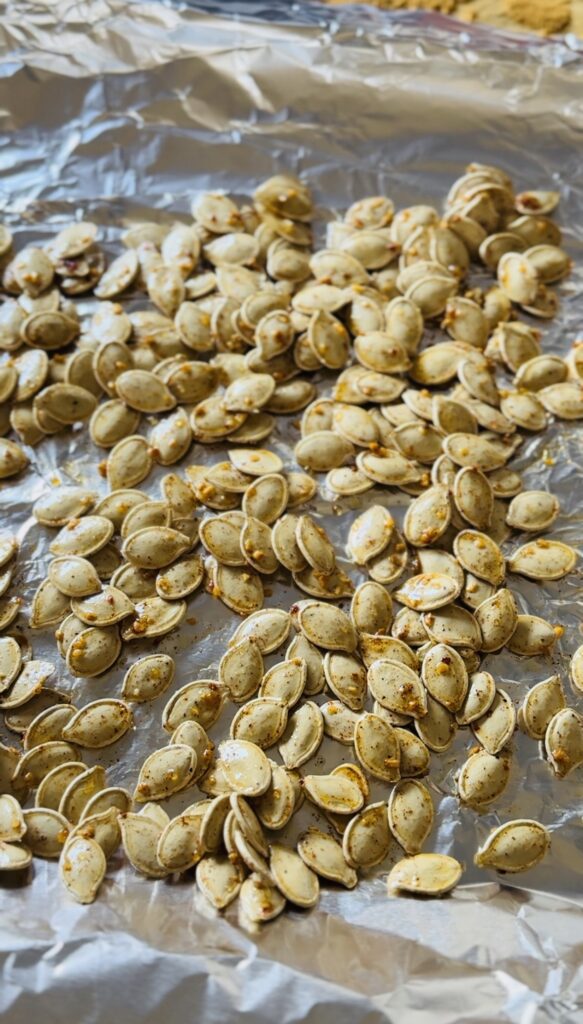
4. Dry the seeds: Spread the rinsed seeds on a clean kitchen towel or paper towel and pat them dry. It’s important to dry them as much as possible before roasting so they crisp up nicely in the oven.
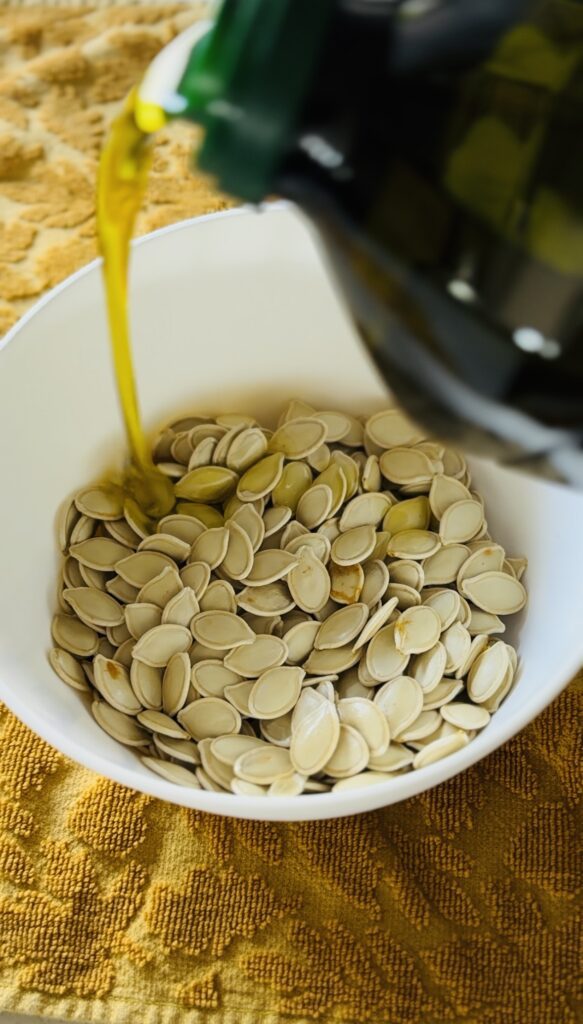
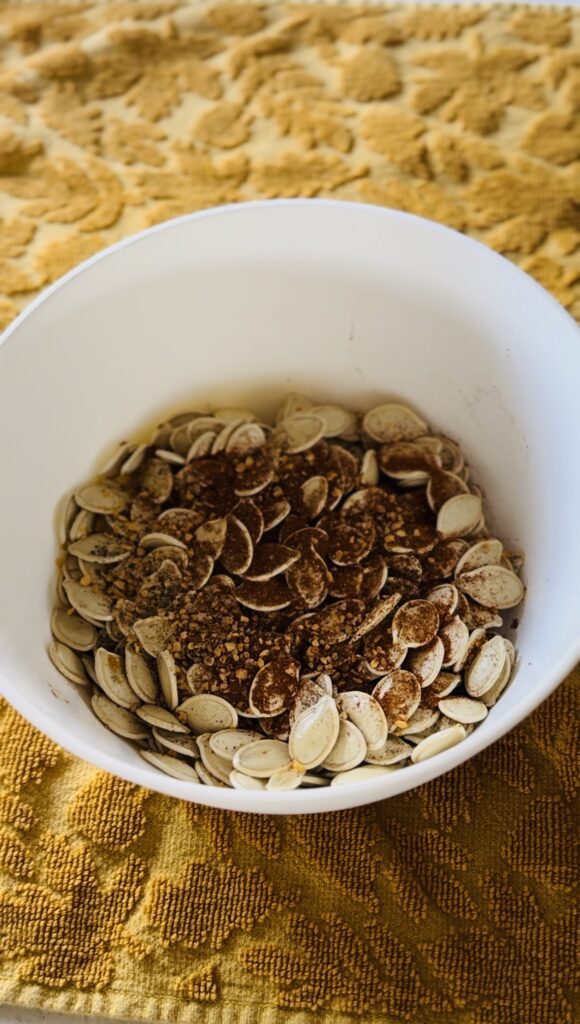
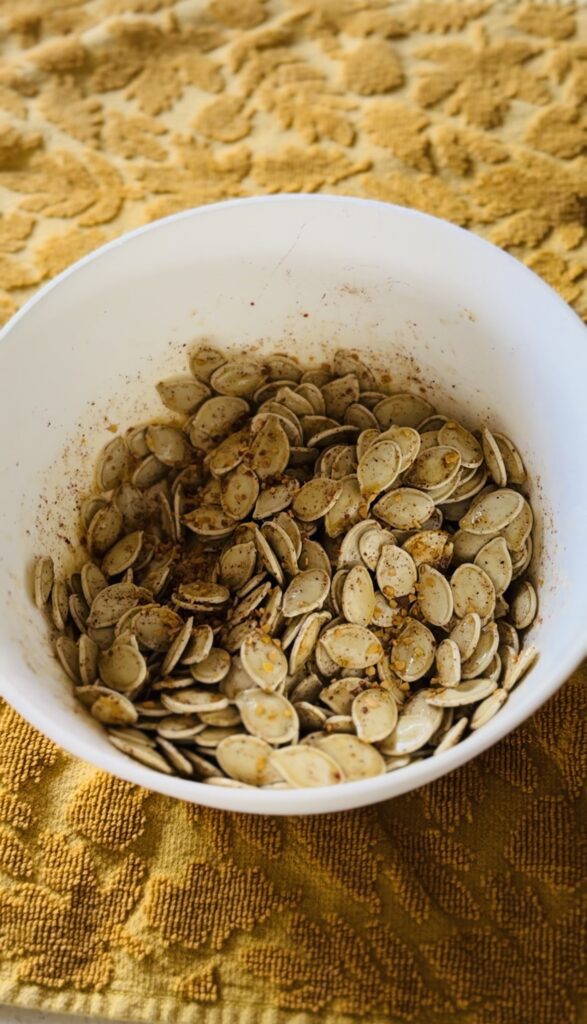
5. Season the seeds: Transfer the seeds to a bowl and toss them with olive oil or melted butter. Add salt and any additional seasonings you like. Garlic powder, smoked paprika, and cinnamon are popular choices that bring out the fall flavors in this snack. You can experiment with sweet or savory combinations based on your preference.
6. Roast the seeds: Spread the seasoned seeds in a single layer on a baking sheet. Roast them in the preheated oven for 25–30 minutes, stirring occasionally. The seeds are done when they’re golden brown and crunchy.
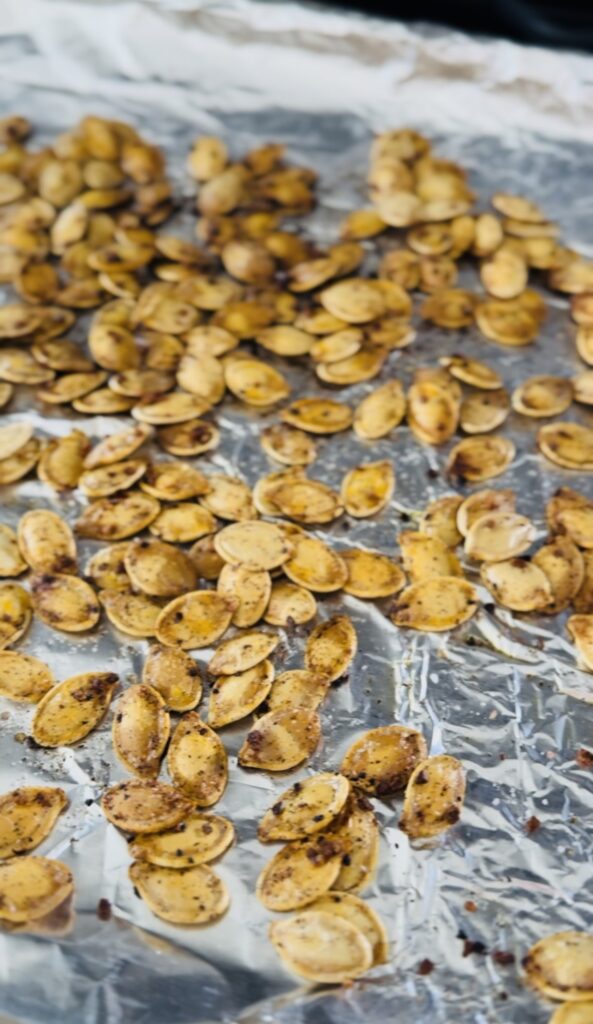
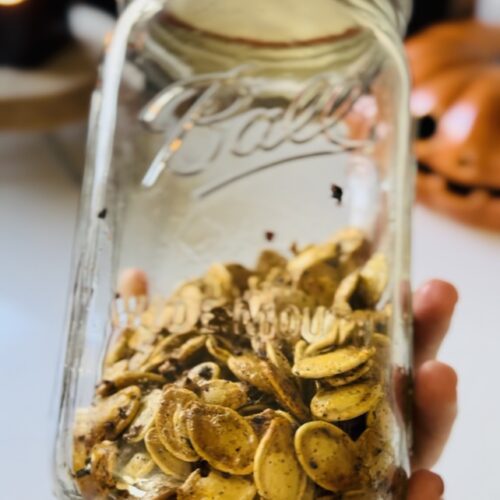
7. Cool and enjoy: Once roasted, let the seeds cool for a few minutes. They’re delicious when eaten warm, but they also store well in an airtight container for up to a week—making them a perfect on-the-go snack.
Pumpkin Seeds: A Healthy Fall Snack
In addition to being a fun part of your pumpkin-carving tradition, pumpkin seeds are packed with health benefits. They’re high in protein, healthy fats, and fiber, making them a filling and nutritious snack. Pumpkin seeds are also rich in antioxidants, which help protect your body from oxidative damage. Plus, they’re a great source of magnesium, an essential mineral for muscle function, bone health, and energy production.
When you roast your own pumpkin seeds at home, you can control the amount of oil and salt you use, making them a healthier alternative to many pre-packaged snacks. Whether you season them with salt, spices, or a sweet cinnamon-sugar blend, pumpkin seeds are a versatile fall treat that’s perfect for munching on during a crisp autumn day.

Enjoy!
Carving pumpkins and roasting pumpkin seeds go hand in hand, making Halloween and fall even more special. Whether you’re enjoying the creative process of designing your jack-o’-lantern or savoring the crunchy goodness of freshly roasted seeds, this seasonal tradition brings family and friends together in a unique way. By turning leftover pumpkin seeds into a delicious, healthy snack, you’re also making the most of fall’s harvest.
So, this Halloween, as you carve your pumpkins and prepare for spooky festivities, don’t forget to save those seeds! With this simple pumpkin seed recipe, you can create a snack that’s not only tasty but also embodies the flavors and spirit of the season. Happy Halloween and enjoy the fall harvest!
Comment below or tag me on social media! #edamamabean_ (Insta) or @edamamabean (tiktok)
Equipment Used
- Tarp
- Sharp Knife
- Serrated Scooper for Pumpkin Guts
- Large Mixing Bowl
- Baking Sheet
- Spatula
- Aluminum Foil
Shop Equipment
As an Amazon Associate, I earn from qualifying purchases.
Recipes Related
- Apple Cider Churros
- Carving Pumpkin Puree Recipe
- Coffin De Muerte “Coffin of the Dead”: Raspberry Cheese Danish
Easy Pumpkin Seed Recipe
Ingredients
- Pumpkin Seeds
- 2 tbsp Olive Oil
- pinch of sea salt
- choice of flavor (choose from instructions)
Instructions
Pumpkin Seed Seasoning Options
- Classic Salted: Olive oil or butter with sea salt.
- Chili Lime: Chili powder, cumin, lime zest, and salt.
- Herb Butter: Melted butter with dried rosemary, thyme, and garlic powder.
- Cajun: Cajun seasoning mix, olive oil, and a dash of salt.
- Barbecue: Barbecue seasoning or a blend of smoked paprika, brown sugar, and onion powder.
- Pumpkin Spice: Pumpkin pie spice (cinnamon, nutmeg, ginger, allspice) with a sprinkle of sugar.
- Cinnamon Sugar: Sugar, cinnamon, and a touch of melted butter or oil.
- Chai Spice: A mix of ground cinnamon, cardamom, ginger, and cloves for a chai-inspired flavor.
- Gingerbread Spice: Ginger, cinnamon, nutmeg, cloves, and brown sugar for a festive flavor.
- Apple Pie: A blend of cinnamon, nutmeg, and allspice with an apple cider glaze.
Step-by-Step Instructions:
Preheat your oven:
- Set your oven to 350°F Roasting the seeds at a low temperature ensures they cook evenly and become crispy without burning.
Separate the seeds from the pulp:
- After scooping out the pumpkin’s insides, place the seeds and pulp in a large bowl. Gently separate the seeds from the stringy pulp. It might take a little time, but it’s worth it!
Rinse the seeds:
- Once you’ve separated the seeds, place them in a colander and rinse under cold water. This helps remove any remaining pumpkin bits and ensures your seeds roast evenly.
Dry the seeds:
- Spread the rinsed seeds on a clean kitchen towel or paper towel and pat them dry. It’s important to dry them as much as possible before roasting so they crisp up nicely in the oven.
Season the seeds:
- Transfer the seeds to a bowl and toss them with olive oil or melted butter. Add salt and any additional seasonings you like. Garlic powder, smoked paprika, and cinnamon are popular choices that bring out the fall flavors in this snack. You can experiment with sweet or savory combinations based on your preference.
Roast the seeds:
- Spread the seasoned seeds in a single layer on a baking sheet. Roast them in the preheated oven for 25–30 minutes, stirring occasionally. The seeds are done when they’re golden brown and crunchy.
Cool and enjoy:
- Once roasted, let the seeds cool for a few minutes. They’re delicious when eaten warm, but they also store well in an airtight container for up to a week—making them a perfect on-the-go snack.
Subscribe for New Recipes
Delivered to You
*No delivery fees required*

